
Table of Contents
Garlic bread is a universal favorite, but what if we told you it could also be a healthier, high-protein snack or side dish? Enter Greek yogurt garlic bread—a deliciously soft, chewy, and flavorful recipe that takes the classic garlic bread to the next level. With Greek yogurt as the star ingredient, this recipe is packed with protein, making it a perfect option for those who want indulgence without the guilt. Let’s dive into the details!
How to Make Greek Yogurt Garlic Bread
Ingredients
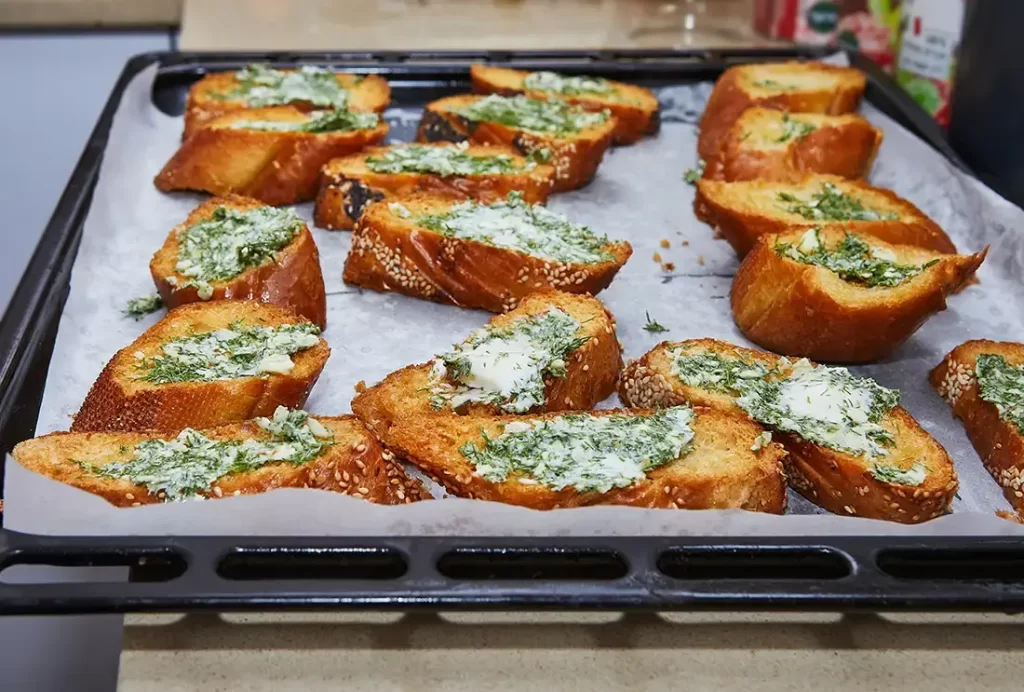
To make this recipe, you’ll need a handful of basic ingredients, many of which you probably already have in your kitchen.
For the dough:
- 1 cup plain Greek yogurt (unsweetened and full-fat for best results)
- 1 ½ cups self-rising flour (plus extra for dusting)
- 1 tsp garlic powder
For the garlic butter topping:
- 4 tbsp unsalted butter (melted)
- 2-3 garlic cloves (finely minced)
- 2 tbsp fresh parsley (chopped)
- A pinch of salt
- Optional: grated Parmesan cheese for topping
Optional garnish:
- Fresh basil leaves or chili flakes for added flavor
Instructions to Make Greek Yogurt Garlic Bread Recipe

Prepare the dough
- In a mixing bowl, combine the self-rising flour, Greek yogurt, and garlic powder. Mix until it forms a sticky dough.
- Transfer the dough to a lightly floured surface. Knead it for about 5-7 minutes until it becomes smooth and elastic.
- Divide the dough into equal portions (usually 4-6 pieces) and shape them into balls.
Roll out the bread
- Using a rolling pin, flatten each dough ball into a circular or oval shape, about ¼-inch thick.
- Dust lightly with flour if the dough sticks to the surface or the rolling pin.
Cook the bread
- Heat a non-stick skillet or griddle over medium heat. Lightly grease it with a bit of oil or butter.
- Place one piece of rolled dough onto the hot skillet. Cook for 2-3 minutes until bubbles form and the underside is golden brown. Flip and cook the other side for another 2 minutes.
- Repeat with the remaining dough portions. Set aside the cooked bread on a plate.
Assemble the Greek Yogurt Garlic Bread
Brush the warm, cooked bread generously with the garlic butter mixture on both sides for maximum flavor. For an extra cheesy touch, sprinkle grated Parmesan over the bread while it’s still hot so it melts perfectly.
Serve and Enjoy
Your Greek yogurt garlic bread is ready to serve! Enjoy this soft, flavorful, and easy homemade garlic bread as a delicious side or snack.
What to Serve With Greek Yogurt Garlic Bread Recipe
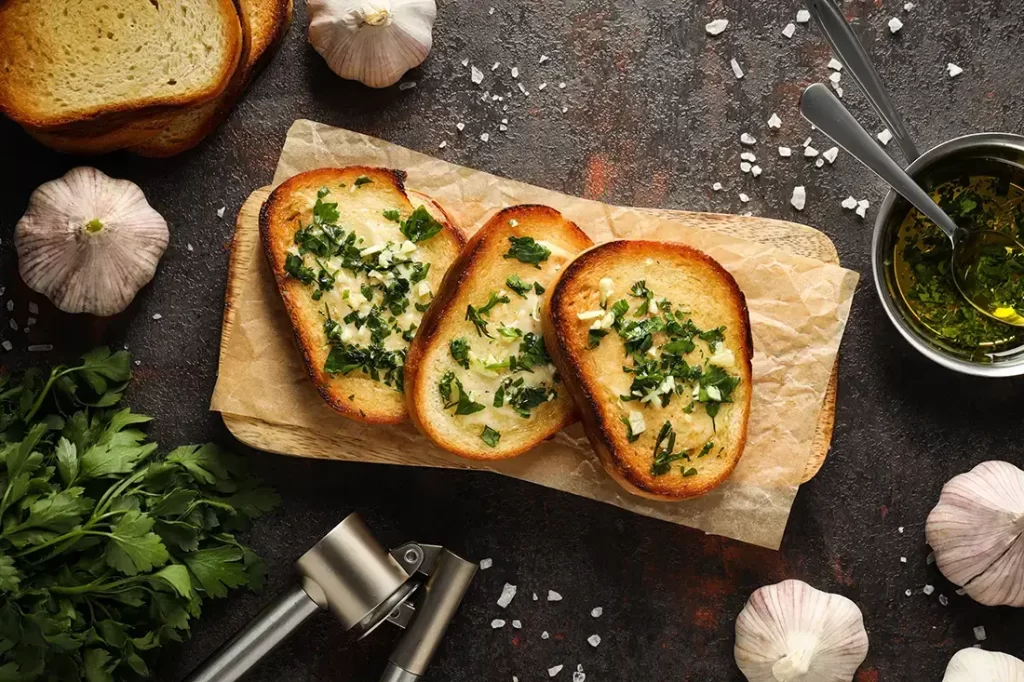
Greek yogurt garlic bread is versatile and pairs wonderfully with various dishes. Here are some ideas:
- Soups: Serve it alongside a hearty soup like and Easy Chicken Poblano Soup, Tomato Soup.
- Salads: Pair it with a fresh green salad or a Caesar salad for a lighter meal.
- Dips: Use it as a base for hummus, tzatziki, or baba ghanoush.
- Main courses: It complements pasta dishes like spaghetti or lasagna.
- Snacks: Enjoy it as a standalone snack with a side of marinara or garlic dip.
Variations of Greek Yogurt Garlic Bread Recipe

- Cheesy Garlic Bread: Add shredded mozzarella or cheddar cheese on top before cooking for a cheesy twist.
- Herb-Infused Bread: Mix fresh or dried herbs like oregano, thyme, or rosemary into the dough.
- Spicy Version: Sprinkle chili flakes or drizzle hot honey over the garlic butter topping for a kick of spice.
- Vegan Option: Substitute Greek yogurt with a plant-based yogurt alternative and use vegan butter for the topping.
- Gluten-Free Option: Use gluten-free self-rising flour to make the recipe suitable for gluten-sensitive diets.
Recipe Tested & Notes
I tested this Homemade Greek Yogurt Garlic Bread recipe several times using full-fat, low-fat, and non-fat Greek yogurt to see how each affected the dough. Full-fat Greek yogurt produced the softest texture and richest flavor, while low-fat Greek yogurt still gave excellent results with a slightly lighter crumb. Non-fat yogurt worked, but the bread was a little less tender.
I also experimented with different flour types. Regular all-purpose flour created a soft, fluffy garlic bread that was easy to work with. Bread flour produced a chewier texture, while self-rising flour required adjusting the baking powder and salt.
The garlic butter was another important factor. Fresh minced garlic created a stronger, more aromatic flavor than garlic powder, especially when mixed with melted butter and fresh parsley just before brushing it over the warm bread.
For the best texture, I found that baking the bread until lightly golden and then brushing it with a second layer of garlic butter immediately after baking made it incredibly soft and flavorful.
Mistakes I Made
Testing this recipe helped me avoid several common problems.
Adding too much flour
My first batch was dry because I kept adding flour while kneading. The dough should feel slightly soft and only lightly tacky.
Using cold Greek yogurt
Straight-from-the-refrigerator yogurt made the dough slightly harder to mix. Letting it sit at room temperature for about 20 minutes made handling much easier.
Overbaking the bread
One batch became firm because I baked it too long. Removing it as soon as the top turned lightly golden kept the bread soft and fluffy.
Brushing the garlic butter too early
Applying garlic butter before baking caused some of the garlic to brown too much. Brushing most of it on after baking produced fresher garlic flavor.
Skipping the resting time
Cutting into the bread immediately caused steam to escape quickly. Allowing it to cool for about 5 minutes improved the texture.
Personal Cooking Tips Learned From Testing
These simple tips consistently gave me the best garlic bread.
- Use thick Greek yogurt instead of regular yogurt for a stronger dough.
- Fresh garlic always delivers the best flavor.
- Do not overwork the dough or it may become dense.
- Brush the bread with garlic butter twice for maximum flavor.
- Sprinkle Parmesan cheese over the bread before the final few minutes of baking for a crispy, cheesy finish.
- Add chopped parsley after baking to keep its fresh color.
- Rotate the baking tray halfway through cooking for even browning.
- Serve while still warm for the softest texture.
Why I Prefer This Version
After testing several yogurt-based garlic bread recipes, this version became my favorite because it is quick, reliable, and doesn’t require yeast.
Greek yogurt gives the bread a soft interior while adding a subtle tang that complements the garlic butter perfectly. Unlike traditional yeast dough, there is no waiting for the dough to rise, making this recipe perfect for busy weeknights.
The ingredients are simple pantry staples, and the bread pairs beautifully with pasta, soup, salad, grilled chicken, or even as a snack on its own.
Another reason I love this recipe is how easily it can be customized. You can add mozzarella, cheddar, herbs, chili flakes, or roasted garlic to create endless variations.
Storage Notes Based on Actual Testing
I tested several storage methods to determine how well the bread held up after baking.
Room Temperature
Stored in an airtight container, the bread remained soft for about 2 days.
Refrigerator
It stayed fresh for up to 5 days, although the texture became slightly firmer. Reheating restored much of its softness.
Freezer
The bread froze beautifully for up to 2 months. I wrapped individual slices before freezing so I could thaw only what I needed.
Reheating
For the best results, warm the bread in a 325 degrees Fahrenheit (163 degrees Celsius) oven for 5 to 7 minutes or in the air fryer for 2 to 3 minutes. Avoid microwaving for too long, as it can make the bread chewy.
Equipment Used
These kitchen tools make the recipe simple and easy to prepare.
- Large mixing bowl
- Measuring cups
- Measuring spoons
- Silicone spatula
- Wooden spoon
- Rolling pin
- Pastry brush
- Chef’s knife
- Cutting board
- Baking sheet or pizza pan
- Parchment paper
- Cooling rack
FAQs While Making Greek Yogurt Garlic Bread Recipe
Can I use regular yogurt instead of Greek yogurt?
Yes, but you’ll need to strain it to remove excess liquid to achieve the thick consistency of Greek yogurt.
What if I don’t have self-rising flour?
You can make your own by combining 1 cup of all-purpose flour with 1 ½ tsp of baking powder and ¼ tsp of salt.
Can I freeze the dough?
Yes! Wrap the dough in plastic wrap and store it in the freezer for up to 3 months. Thaw it in the fridge before use.
How do I make the bread crispier?
Cook it on slightly higher heat for a shorter time, but keep an eye on it to prevent burning.
Can I make it in an air fryer?
Yes! Preheat the air fryer to 375°F (190°C), place the dough inside, and cook for 5-6 minutes until golden brown.
Substitutes
- Greek yogurt substitute: Use strained regular yogurt, sour cream, or a vegan yogurt alternative.
- Butter substitute: Replace butter with olive oil or vegan butter for a dairy-free version.
- Garlic substitute: Garlic powder can replace fresh garlic if you’re short on time.
- Parsley substitute: Use cilantro, dill, or chives for a different herbaceous flavor.
Nutrition of Greek Yogurt Garlic Bread Recipe
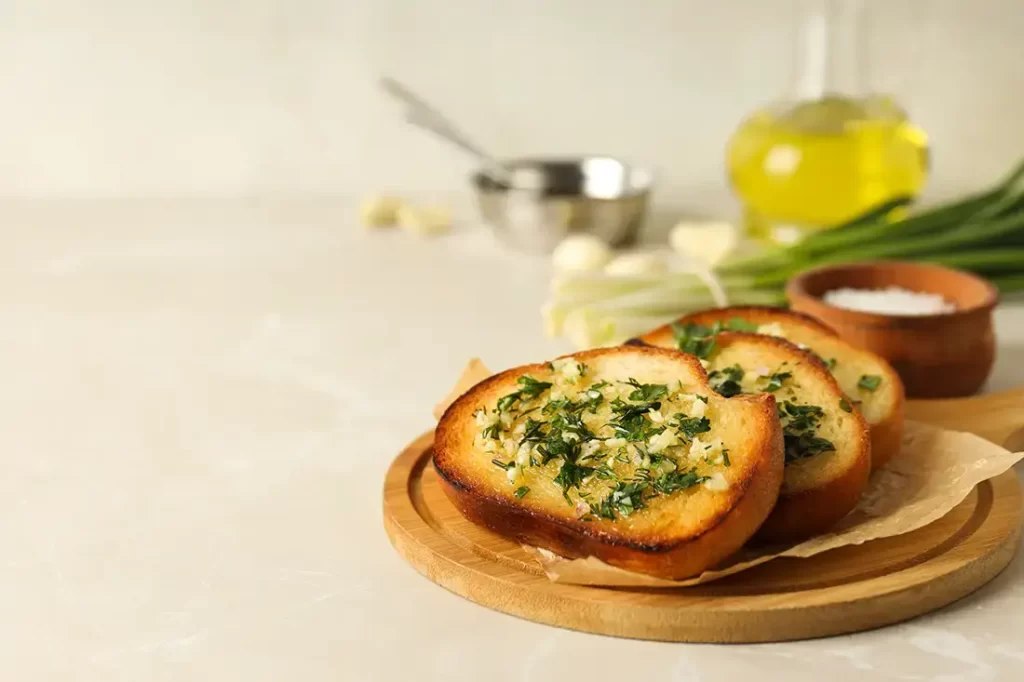
Here’s the approximate nutritional breakdown per serving (makes 4 servings):
- Calories: 210
- Protein: 9g
- Carbohydrates: 30g
- Fat: 7g
- Fiber: 2g
- Sugar: 2g
- Sodium: 180mg
(Note: Nutrition values may vary based on exact ingredients used.)
By using Greek yogurt in this recipe, you’re not only enhancing the flavor but also boosting the nutritional profile, making it a guilt-free indulgence. Whether as a side, a snack, or a base for creative toppings, Greek yogurt garlic bread is bound to become a staple in your kitchen.