Table of Contents
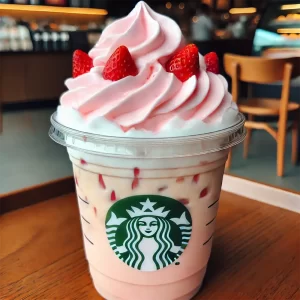
If you’re a fan of Starbucks’ refreshing cold brews, then you’ve probably heard about their Strawberry Cold Foam – a sweet, creamy topping that takes iced coffee to the next level. This Starbucks Strawberry Cold Foam Recipe is perfect for those who love fruity flavors in their coffee but want to save money by making it at home.
Starbucks’ cold foam trend has gained immense popularity, with different variations like vanilla, caramel, and chocolate. However, the strawberry cold foam stands out because of its delightful blend of sweetness and tartness, making it a unique topping for iced coffee and cold brews.
In this guide, you’ll learn how to make the Starbucks Strawberry Cold Foam Recipe step by step, including the ingredients, equipment, and variations to suit your taste. Whether you’re a coffee enthusiast or just looking for a fun DIY drink, this recipe will help you recreate that Starbucks magic at home.
Ingredients
To make Strawberry Cold Foam, you’ll need simple ingredients that are easy to find at your local grocery store. Here’s what you need:

For the Strawberry Syrup:
- ½ cup fresh strawberries (or frozen strawberries, thawed)
- ¼ cup granulated sugar (adjust to taste)
- ¼ cup water
- ½ teaspoon vanilla extract (optional, for extra flavor)
For the Cold Foam:
- ½ cup heavy cream (for the signature creamy texture)
- ¼ cup milk (2% or whole milk works best)
- 2 tablespoons strawberry syrup (homemade or store-bought)
- 1 tablespoon vanilla syrup (optional, for added sweetness)
- ½ teaspoon powdered sugar (optional, for extra thickness)
Equipment Needed:
- Blender, milk frother, or handheld electric whisk
- Small saucepan
- Fine mesh strainer
- Measuring cups and spoons
Step-by-Step Instructions

Step 1: Make the Strawberry Syrup
- Combine ingredients: In a small saucepan, add fresh strawberries, sugar, and water. Bring it to a gentle simmer over medium heat.
- Cook until thickened: Stir occasionally and let the mixture cook for about 5-7 minutes, until the strawberries break down and release their natural juices.
- Blend and strain: Use an immersion blender to puree the mixture, or let it cool slightly and blend in a regular blender. Strain through a fine mesh sieve to remove seeds.
- Add vanilla extract: Stir in the vanilla extract and let the syrup cool completely before using.
Step 2: Prepare the Cold Foam
- Chill the ingredients: For the best texture, use cold heavy cream and milk.
- Combine in a mixing cup: Add heavy cream, milk, 2 tablespoons of strawberry syrup, and vanilla syrup (if using).
- Froth to perfection: Use a milk frother, handheld whisk, or blender to whip the mixture until it forms a light, airy foam. It should be thick but pourable.
Step 3: Assemble Your Drink
- Fill a glass with cold brew coffee or iced coffee.
- Add ice cubes for a refreshing chill.
- Top with the freshly made strawberry cold foam.
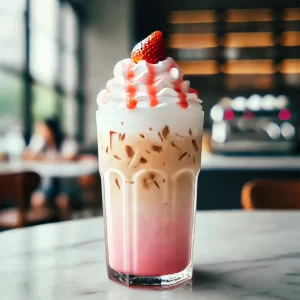
- Garnish with a drizzle of strawberry syrup or a fresh strawberry slice.
- Stir slightly and enjoy!
Serving Suggestions

Strawberry cold foam pairs well with various drinks. Here are some ideas:
- Classic Cold Brew – A simple, bold iced coffee topped with strawberry cold foam.
- Strawberry Vanilla Latte – Combine espresso, vanilla syrup, and ice before adding the foam.
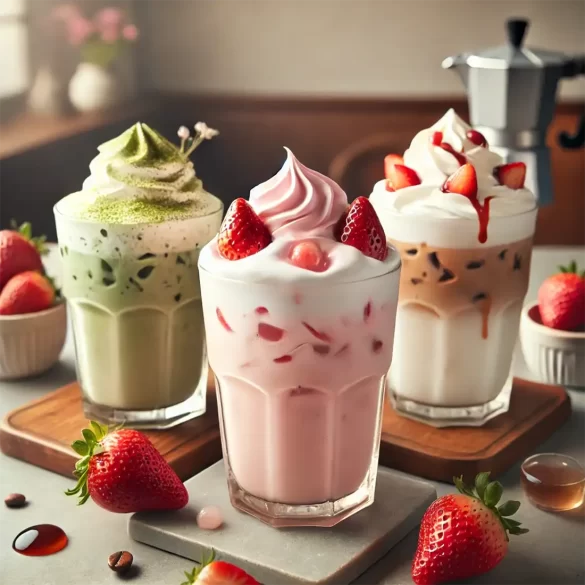
- Matcha Green Tea Latte – The creamy strawberry foam complements the earthy matcha flavor.
- Iced White Mocha – Add the foam on top of an iced white chocolate mocha for a fruity twist.
Recipe Variations & Customizations
- Make It Extra Creamy: Add a splash of condensed milk for a richer texture.
- Make It Vegan: Swap heavy cream for coconut cream and use maple syrup instead of sugar.
- Stronger Strawberry Flavor: Use strawberry extract in addition to the homemade syrup.
- Sugar-Free Option: Substitute sugar with stevia or monk fruit sweetener.
- Chocolate Strawberry Foam: Add 1 teaspoon of cocoa powder to the mix for a chocolate-covered strawberry taste.

Recipe Tested & Notes
I tested this Starbucks Strawberry Cold Foam Recipe several times before settling on this version. My first goal was to recreate the light, silky foam that Starbucks is known for while keeping the ingredient list simple enough for home cooks.
After experimenting with different milk-to-cream ratios, I found that using heavy cream with a small amount of whole milk creates the closest texture. Using only milk made the foam too thin, while using only heavy cream produced something closer to whipped cream than cold foam.
Fresh homemade strawberry syrup consistently delivered the best flavor. It created a naturally fruity taste without the artificial sweetness that many bottled syrups have. Letting the syrup cool completely before mixing was also important because warm syrup caused the cream to lose volume.
One thing I also noticed during testing is that the foam tastes best within 10 minutes of making it. While it stays usable for a little longer, the airy texture slowly begins to collapse, just like Starbucks cold foam.
Overall, this recipe came surprisingly close to the version served in Starbucks stores while using ingredients that are easy to find at any supermarket.
Mistakes I Made
Here are a few mistakes I made while testing this recipe so you don’t have to.
Using Warm Ingredients
The very first batch refused to froth properly because the cream wasn’t cold enough. Always start with refrigerated ingredients.
Over-Frothing
I once continued frothing until stiff peaks formed. Instead of cold foam, I accidentally made strawberry whipped cream. Stop mixing as soon as the foam becomes thick but still pourable.
Adding Too Much Syrup
More syrup sounds tempting, but too much liquid makes the foam heavy and causes it to sink into the coffee instead of floating beautifully on top.
Skipping the Strainer
The strawberry seeds made the finished foam grainy. Straining the syrup creates a much smoother texture.
Using Low-Fat Milk Only
I tried making the recipe with only skim milk. The flavor was good, but the foam disappeared within a minute.
Personal Cooking Tips Learned From Testing
After making this recipe multiple times, I discovered several small tricks that make a noticeable difference.
- Chill your mixing bowl or frothing cup in the freezer for about 10 minutes before starting.
- Homemade strawberry syrup tastes even better after resting overnight in the refrigerator.
- Blend the strawberries until completely smooth before straining for a richer color.
- Use a handheld milk frother instead of a blender if you want more control over the foam.
- Pour the foam slowly over the back of a spoon for neat layers.
- If your coffee is extremely bitter, add a small splash of vanilla syrup before topping it with the strawberry foam.
- Large ice cubes melt more slowly and prevent the drink from becoming watered down.
Why I Prefer This Version
I’ve tried several homemade Strawberry Cold Foam Recipe variations, but I keep coming back to this one for a few reasons.
First, the strawberry flavor comes from real fruit instead of artificial flavoring. The result tastes fresher and more natural.
Second, the sweetness is completely adjustable. Starbucks drinks can sometimes be overly sweet, but making it at home allows you to control exactly how much sugar goes into both the syrup and the foam.
I also like that this recipe works with almost any iced coffee. Whether you’re using homemade cold brew, bottled coffee, espresso, or even iced matcha, the foam complements every drink without overpowering it.
Finally, it only takes about 15 minutes from start to finish, making it practical enough for everyday use.
Storage Notes Based on Actual Testing
Since I tested several batches over multiple days, here is exactly how the recipe stored.
Strawberry Syrup
- Store in a clean airtight glass jar.
- Refrigerate for up to 7 days.
- Shake or stir before each use because natural separation is normal.
Strawberry Cold Foam
The finished cold foam is best enjoyed immediately.
If refrigerated, it will stay usable for about 24 hours, but the foam gradually loses its airy texture. Before serving again, quickly froth it for 20 to 30 seconds.
Do not freeze the prepared foam because it separates after thawing.
Best Make-Ahead Method
Instead of preparing the foam ahead of time, make the strawberry syrup in advance. Then simply mix and froth the cold foam whenever you’re ready for a drink. This gives the freshest Starbucks-style results.
Equipment Used
You don’t need any expensive coffee equipment to make this Starbucks Strawberry Cold Foam Recipe.
- Small saucepan for cooking the strawberry syrup.
- Silicone spatula or wooden spoon for stirring.
- Fine mesh strainer for removing strawberry seeds.
- Measuring cups and measuring spoons for accurate results.
- Handheld milk frother (recommended for the best texture).
- Small blender or immersion blender for pureeing the syrup.
- Tall serving glass for assembling the drink.
- Ice scoop.
- Airtight glass jar for storing leftover syrup.
FAQs
Can I Make the Strawberry Cold Foam Ahead of Time?
Yes, but it’s best served fresh. If needed, store it in an airtight container in the fridge for up to 24 hours and re-froth before use.
Does This Work With Any Coffee?
Yes! It works great with cold brew, iced coffee, and even hot coffee if you prefer.
How Do I Make It Without a Frother?
You can use a blender or whisk vigorously by hand. Shaking it in a sealed jar can also create a foamy texture.
Can I Use Store-Bought Strawberry Syrup?
Yes, but homemade syrup offers a fresher, more natural taste without artificial ingredients.
Substitutes & Ingredient Alternatives
- Milk Alternatives: Use oat milk, almond milk, or soy milk for a dairy-free version.
- Sugar Alternatives: Honey, agave syrup, or monk fruit sweetener work well instead of sugar.
- Thicker Foam Alternative: Add a small amount of Greek yogurt or cream cheese for a unique texture.
Nutritional Information (Per Serving)
- Calories: 110 kcal
- Carbohydrates: 10g
- Protein: 1g
- Fat: 8g
- Sugar: 8g
(Nutritional values may vary based on ingredient substitutions.)
Conclusion
Now that you know how to make the Starbucks Strawberry Cold Foam Recipe, it’s time to try it at home! With just a few simple ingredients and a little creativity, you can enjoy this fruity, creamy delight without the Starbucks price tag.
Have you tried making this recipe? Let us know in the comments! Also, check out our other DIY Starbucks drink recipes for more delicious coffee creations. Don’t forget to share this recipe with your coffee-loving friends!