Table of Contents
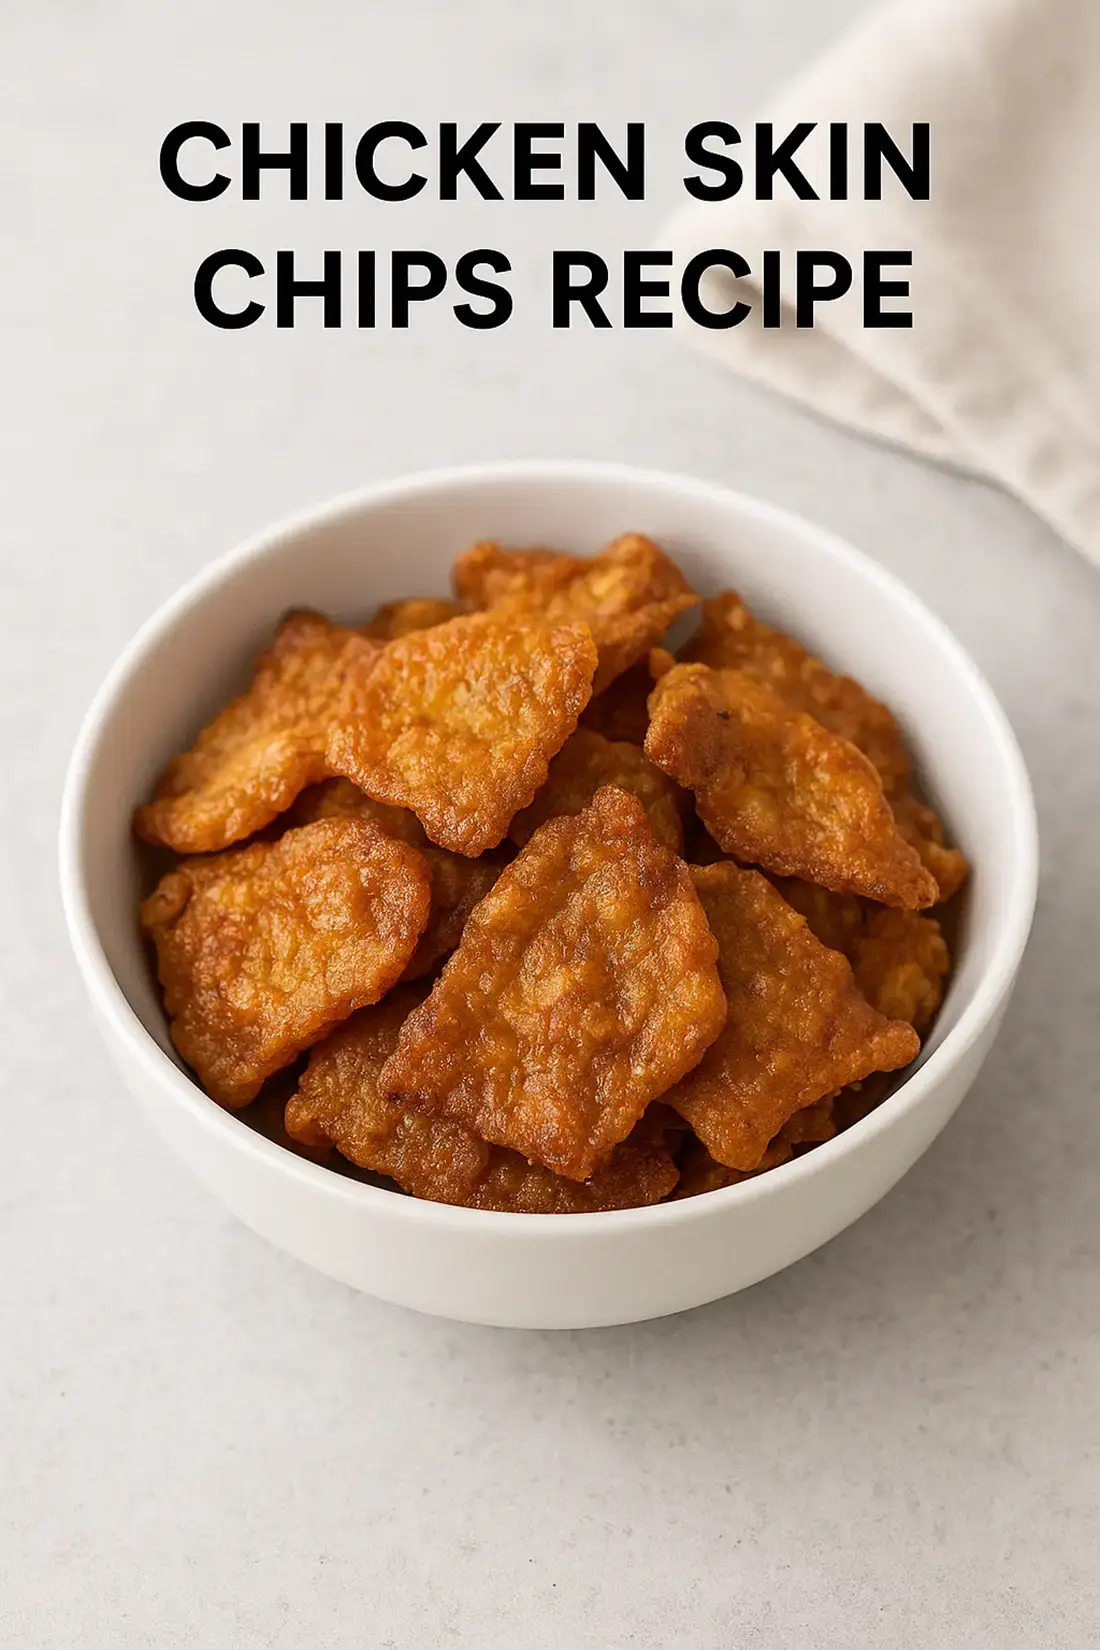
Have you ever craved something irresistibly crispy and savory but wanted to try something different from your usual potato or tortilla chips? Say hello to Chicken Skin Chips—a delightfully crunchy, deliciously flavorful snack that will leave you craving more! Not only are they an excellent low-carb alternative to traditional snacks, but they’re also a clever way to utilize chicken skin, which often goes to waste.
Also known as crispy chicken cracklings, this snack is a timeless favorite in many cultures and is quickly becoming a go-to treat for keto and high-protein snack lovers. If you’ve ever tried the famous Flock Chicken Skin Chips, you know exactly what we’re talking about. These homemade chicken skin chips are just as tasty, easy to make, and perfect for anyone following a keto, paleo, or gluten-free diet.
Before we dive into the recipe, did you know chicken skin chips have been enjoyed for centuries in various cuisines worldwide? In many cultures, chicken skin is a prized ingredient for its rich flavor and texture. Making chicken skin chips at home allows you to enjoy this traditional treat fresh, crispy, and seasoned exactly how you like it!
How To Make Chicken Skin Chips
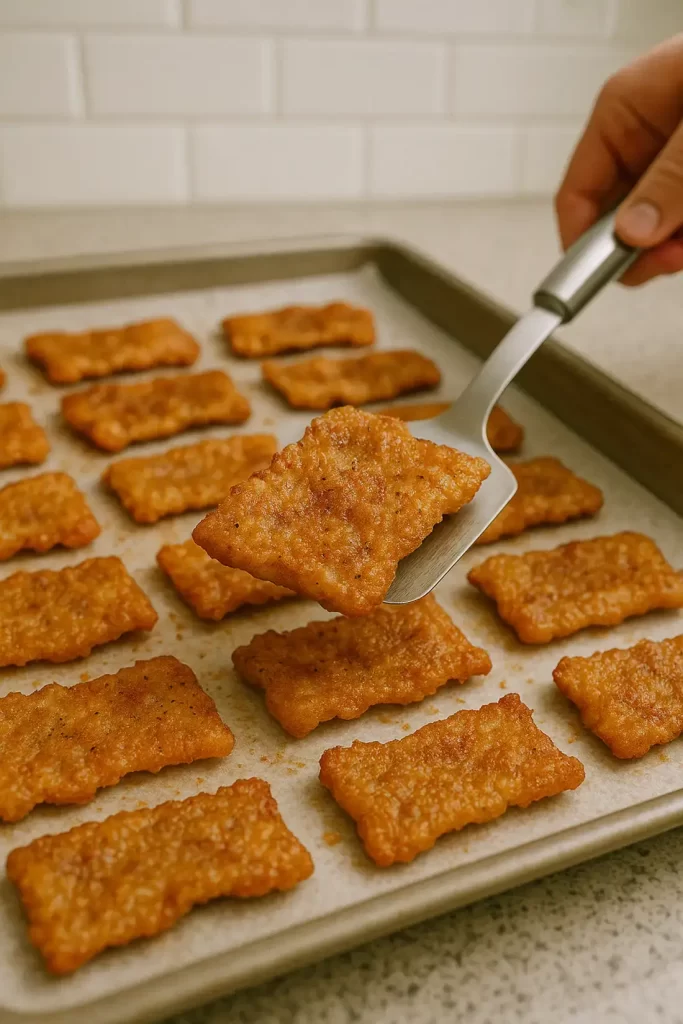
Let’s dive into this straightforward and delightful recipe.
Ingredients
- 1 pound chicken skins – Fresh and clean chicken skins, ideally from thighs or breasts, known for their crispness when cooked.
- 1 teaspoon sea salt – Enhances flavor and helps draw moisture for crispier skin.
- ½ teaspoon ground black pepper – Adds a simple yet sharp seasoning to complement the skin’s savory taste.
- ½ teaspoon garlic powder – Infuses the chicken skin with a delicious, aromatic garlic flavor.
- ½ teaspoon paprika – Adds a delightful smoky undertone and beautiful color.
- Optional: A pinch of cayenne pepper – For those who prefer their chips with a bit of spicy heat.
Alternatives:
- You can also experiment with flavors like ranch seasoning, onion powder, or even your favorite BBQ rub for a fun twist.

Step-by-Step Instructions
Follow these easy steps for perfectly crispy chicken skin chips:
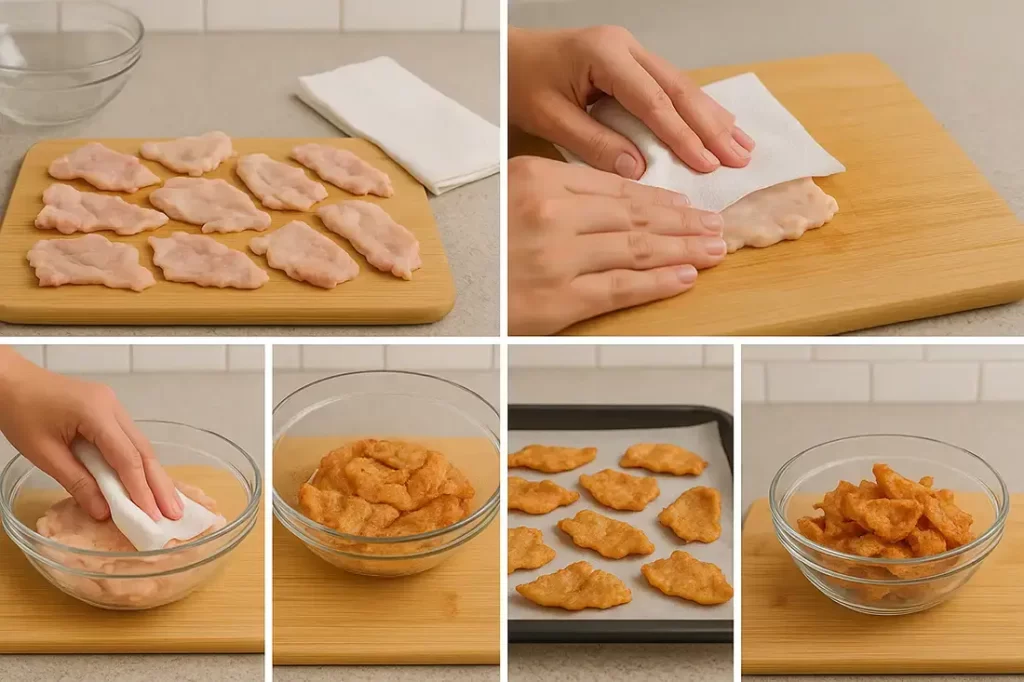
Step 1: Preheat the Oven
- Preheat your oven to 375°F (190°C). Line a baking sheet with parchment paper or a silicone baking mat to prevent sticking.
Step 2: Prepare the Chicken Skin
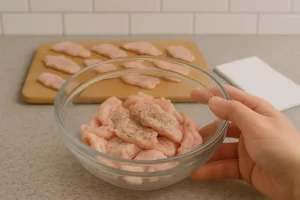
- Thoroughly pat dry the chicken skins with paper towels to remove excess moisture. This ensures the skins crisp up perfectly.
Step 3: Season Generously
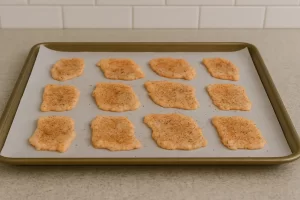
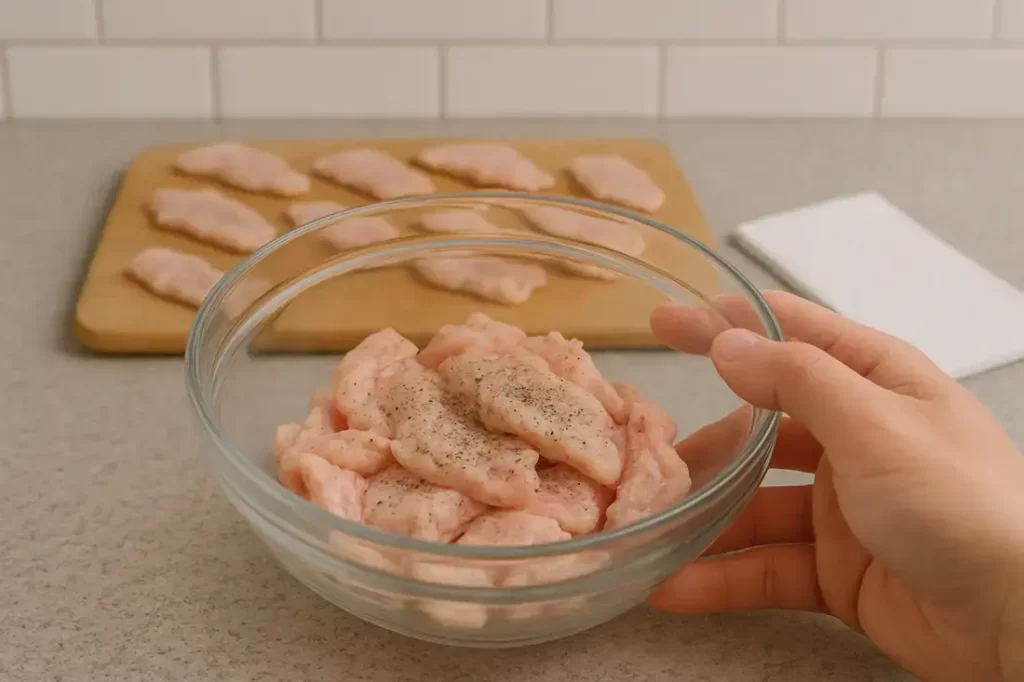
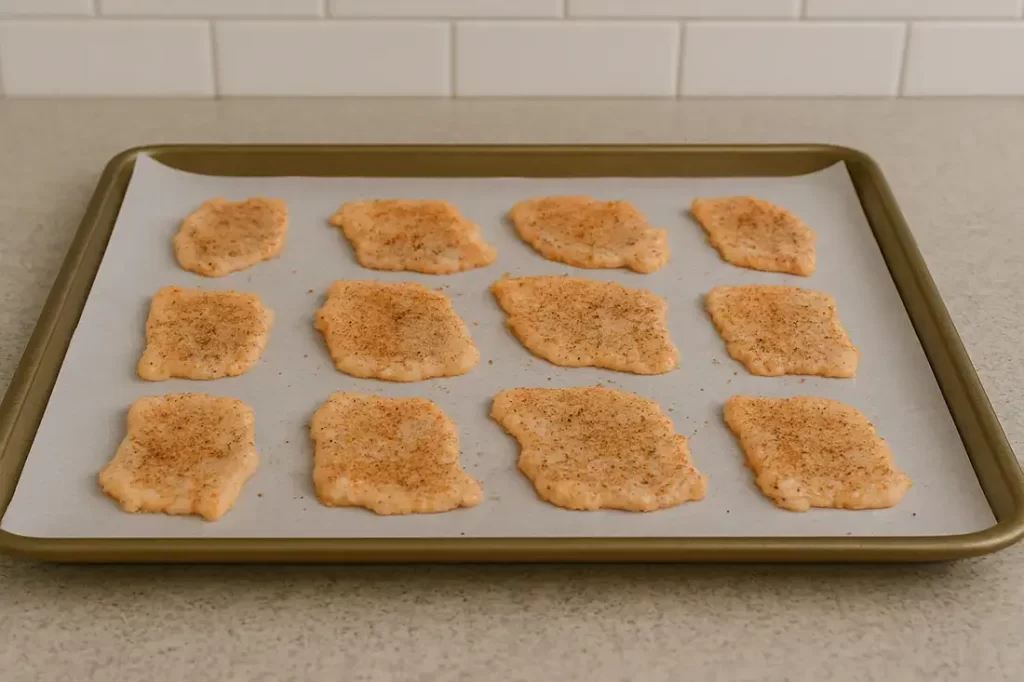
- Spread the chicken skins flat in a single layer on the prepared baking sheet.
- Sprinkle sea salt, black pepper, garlic powder, paprika, and optional cayenne pepper evenly over the chicken skins. Make sure each piece is well-seasoned for optimal flavor.
Step 4: Bake to Crispy Perfection
- Place the seasoned skins in the oven and bake for 20-25 minutes, checking halfway through.
- After the first 15 minutes, flip each piece to ensure even crispness on both sides. Continue baking until the skins are golden brown and crispy.
Pro Tip: Cooking time can vary slightly depending on thickness, so keep an eye on your chips during the last few minutes to avoid burning.
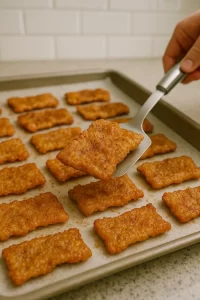
Step 5: Cool and Enjoy
- Remove the baking sheet from the oven and allow the chicken skin chips to cool on a paper towel-lined plate. This will help absorb excess grease and enhance the crispiness.
- Serve immediately for the best texture!
Air Fryer Chicken Skin Chips
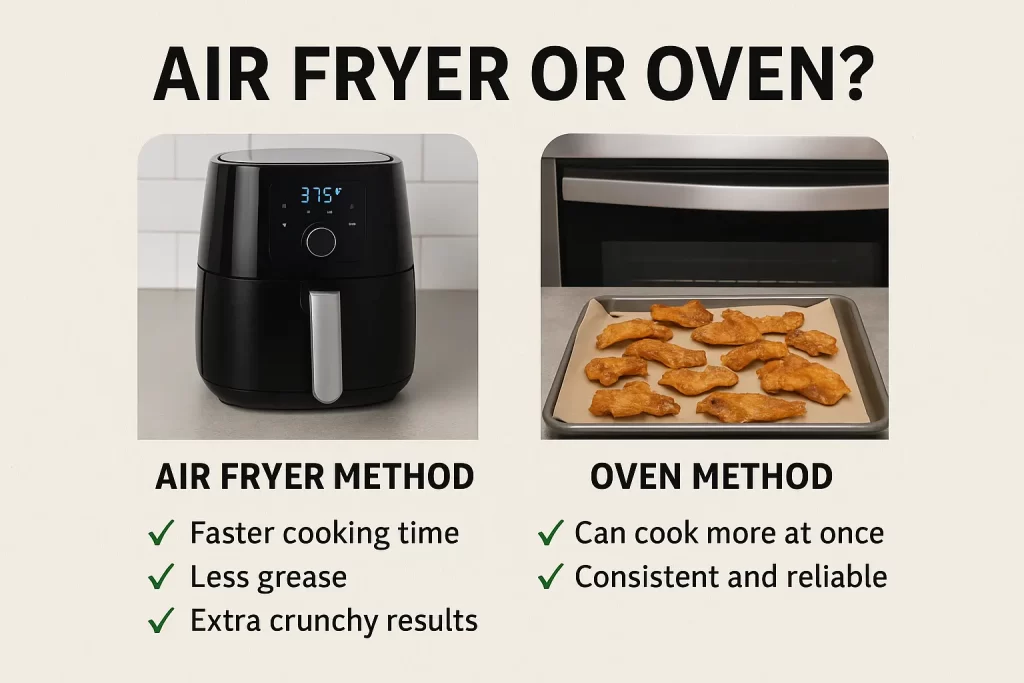
Both the air fryer and oven deliver crispy, golden chicken skin chips, but each has its own pros. Here’s how to choose the best method for your kitchen and time.
Air Fryer Method
Best for: Speed, small batches, and extra crispiness
- Preheat the air fryer to 375°F (190°C).
- Place chicken skins in a single layer inside the basket (do not overlap).
- Cook for 12–15 minutes, flipping halfway through for even crispiness.
- Let cool on paper towels to remove excess grease.
Pros:
- Faster cooking time
- Less grease thanks to air circulation
- Extra crunchy results
Cons:
- Limited space—may require multiple batches
Which to Pick?
If you’re short on time and cooking a small batch—go with the air fryer. For meal prepping or parties, the oven wins for batch efficiency.
Pro Tips for Perfect Chicken Skin Chips
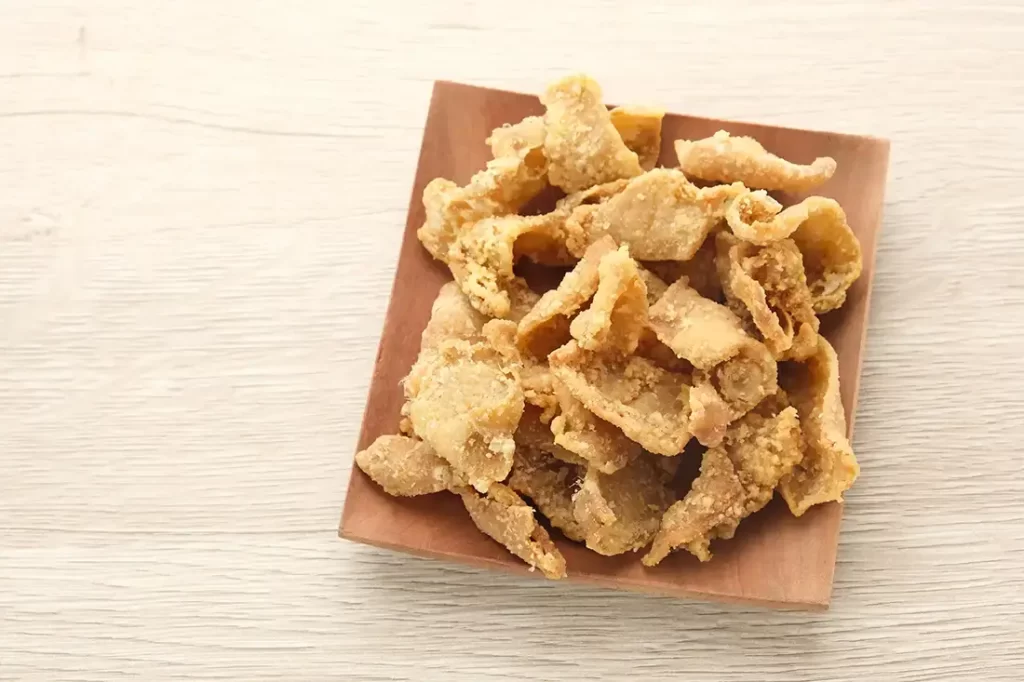
- Drying is key: Whether you call them crispy chicken cracklings or chicken skin chips, removing moisture from chicken skin is essential. Excess moisture prevents the chips from achieving optimal crispiness. Be thorough in patting them dry.
- Keep it single-layered: Avoid overcrowding the baking tray, as overlapping chicken skins will steam instead of crisp.
- Use parchment or silicone: This prevents the chicken skins from sticking, making cleanup a breeze.
- Control your seasoning: Go easy on the salt initially—you can always add more afterward, but you can’t reduce it if you start too heavy-handed.
- Watch carefully: Chicken skins can go from golden brown to burnt quickly. Be attentive during the final minutes of baking.
Serving Suggestions
Elevate your chicken skin chips with these tasty serving ideas:
- Dipping Sauces: Serve your Crispy Chicken Cracklings with ranch, spicy mayo, or homemade guacamole. The creaminess of these dips pairs wonderfully with the crispy texture of the chips.
- Salad Toppings: Crush chicken skin chips lightly and sprinkle them on your favorite salad for extra flavor and crunch.
- Snack Platter: Include chicken skin chips on a charcuterie board alongside cheeses, cured meats, olives, pickles, and crunchy veggies for a gourmet snacking experience.
- Pair with Drinks: Chicken skin chips go wonderfully with cold beverages like craft beer, crisp white wines, or even a refreshing lemonade.
Recipe Variations & Customizations
Customize your chicken skin chips to suit any palate or dietary preference:
- Spicy Chicken Skin Chips: Sprinkle additional cayenne pepper or your favorite hot sauce before baking for a fiery twist.
- BBQ Flavor Chicken Skin Chips: Season with a BBQ dry rub instead of paprika and garlic powder to achieve a sweet-smoky flavor.
- Herb-Infused Chicken Skin Chips: Add dried herbs such as rosemary, thyme, or parsley for an earthy and aromatic flavor.
- Air Fryer Chicken Skin Chips: For a faster, equally crispy option, cook your chicken skin chips in an air fryer at 375°F (190°C) for approximately 12-15 minutes, shaking halfway through for even cooking.
- Keto-Friendly: Sprinkle nutritional yeast for a cheesy flavor that’s perfect for those following a keto diet.
Recipe Tested & Notes
I tested this chicken skin chips recipe three different ways: in the oven at 375°F, at 400°F, and in the air fryer. While all three methods produced crispy results, baking at 375°F (190°C) gave me the best balance of even browning and rich chicken flavor without burning the edges.
The thickness of the chicken skin made the biggest difference. Skin from chicken thighs produced slightly puffier chips with a richer flavor, while breast skin became thinner and extra crispy. Before seasoning, I patted every piece completely dry with paper towels, which made a noticeable improvement in crispiness.
One thing I also noticed is that the chips become even crunchier after resting for about 5 minutes outside the oven. Don’t judge the texture immediately after baking.
Mistakes I Made
After making this recipe several times, I learned a few lessons that can save you from disappointing results.
Not drying the chicken skin enough
The first batch stayed chewy in a few spots because the surface still had moisture. Drying the skin thoroughly is absolutely worth the extra minute.
Crowding the baking tray
I tried fitting everything onto one pan to save time. Instead of crisping, several pieces steamed together. Leaving space between each piece produces much better results.
Over-seasoning before baking
Chicken skin naturally shrinks while cooking. My first batch tasted much saltier than expected because I seasoned it too heavily before baking. A light coating works best, and you can always sprinkle a little extra seasoning after cooking.
Walking away during the last few minutes
Chicken skin cooks quickly once the fat has rendered. A few extra minutes can change perfectly crispy chips into burnt ones.
Personal Cooking Tips Learned From Testing
After making multiple batches, these are the small tricks that consistently produced the best chicken skin chips.
- Always use chicken skin that is as fresh as possible. Fresh skin renders more evenly and develops better flavor.
- If your butcher leaves large pockets of fat attached, trim only the thickest pieces. Leaving a thin layer of fat helps create crispy, flavorful chips.
- Rotate the baking tray halfway through cooking, especially if your oven has hot spots.
- Let the rendered chicken fat drain naturally instead of blotting every chip aggressively. A small amount of fat helps carry the flavor.
- Cool the chips on a wire rack whenever possible. Air circulating underneath keeps both sides crispy.
- Don’t rush the cooling process. The chips continue crisping as they cool.
Why I Prefer This Version
I’ve tried deep-fried chicken skin, smoked chicken skin, and several seasoning combinations over the years, but this oven-baked version has become my favorite.
It delivers the same satisfying crunch as crispy chicken cracklings without dealing with a pot of hot oil. The seasoning is simple enough that the natural chicken flavor remains the star, yet it’s easy to customize with barbecue, Cajun, ranch, or spicy seasonings.
Another reason I keep coming back to this recipe is that it turns something many people throw away into an incredibly addictive snack. It’s budget-friendly, low in carbohydrates, naturally gluten-free, and surprisingly easy to prepare.
Whenever I roast a whole chicken, I save the extra skin specifically to make another batch.
Storage Notes Based on Actual Testing
After testing different storage methods, here’s what worked best.
- Once completely cool, store the chicken skin chips in an airtight container lined with a paper towel.
- They stayed crispy at room temperature for about 2 days.
- By the third day they were still flavorful but had lost some crunch.
- Reheating them in a 375°F oven for 3 to 5 minutes restored nearly all of the crispiness.
- The air fryer also worked well for reheating. Just 2 to 3 minutes was enough.
- I do not recommend refrigerating them because condensation softens the chips.
- Freezing is possible, but the texture is never quite as crispy after thawing.
Equipment Used
Having the right tools makes this recipe much easier.
- Baking sheet
- Parchment paper or silicone baking mat
- Paper towels
- Sharp kitchen knife
- Cutting board
- Mixing bowl
- Measuring spoons
- Kitchen tongs
- Wire cooling rack (recommended)
- Air fryer (optional)
FAQs
Can I store leftover chicken skin chips?
Yes! Store any leftovers in an airtight container for up to 3 days at room temperature. To restore crispiness, reheat them briefly in an oven or air fryer.
Are chicken skin chips healthy?
Chicken skin chips are high in protein and low in carbohydrates, making them a great snack for keto, paleo, and low-carb diets. They are higher in fat, so moderation is key.
Are chicken cracklings the same as chicken skin chips?
Yes, crispy chicken cracklings and chicken skin chips refer to the same delicious snack made by baking or air frying seasoned chicken skin until golden and crunchy.
Can I use turkey skin instead?
Absolutely! Turkey skin crisps similarly, but due to its thickness, it may require slightly longer cooking times.
How do I know my chicken skin chips are done?
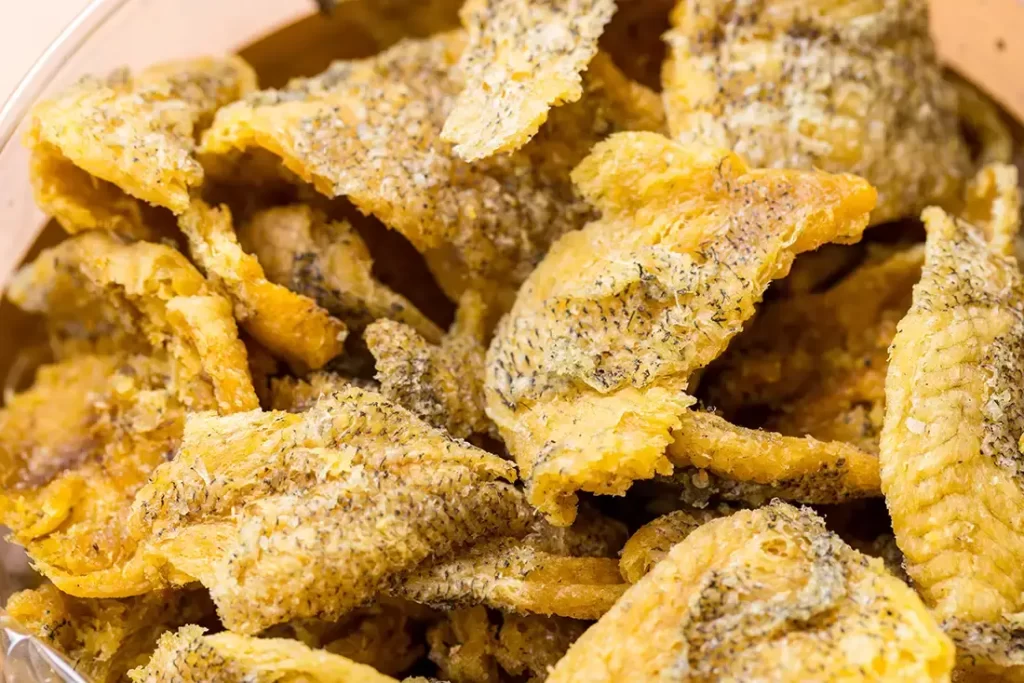
They should be uniformly golden brown, crispy to the touch, and no longer greasy.
Can I make these without any seasoning?
Absolutely. Plain chicken skin chips are delicious because the rendered chicken fat provides plenty of natural flavor. You can always sprinkle salt or your favorite seasoning immediately after baking.
Can I use duck or turkey skin instead of chicken skin?
Yes. Duck skin becomes richer and more flavorful because it contains more fat, while turkey skin is thicker and may require a few extra minutes of cooking. Both make excellent crispy cracklings when cooked properly.
Why are my chicken skin chips still chewy after cooling?
Chewy chips usually need a little more cooking time. Return them to the oven or air fryer for another 3 to 5 minutes, then let them cool again. They become crispier as they cool.
Substitutes & Ingredient Alternatives
- Skin Substitute: If chicken skins are unavailable, turkey skins work great.
- Seasoning Alternatives: Customize seasoning according to preference—Cajun spice, taco seasoning, or lemon pepper blends are delicious alternatives.
Nutritional Information
(Approximate per serving, about 1 ounce)
Calories: ~160
Protein: 10g
Fat: 13g
Carbohydrates: 0g
Sodium: 250mg
Final Thoughts
Chicken skin chips offer a fun, flavorful alternative to typical snack foods and can easily be tailored to your taste preferences. Not only do these chips help reduce kitchen waste by utilizing chicken skins, but they also provide a uniquely crunchy treat that’s suitable for various dietary needs.
Now that you know how easy it is to whip up a batch of crunchy, mouth-watering chicken skin chips at home, why not give them a try this weekend? We guarantee you’ll be hooked after the first crispy bite!
If you enjoyed this recipe, don’t forget to explore our other delicious snack ideas, like our homemade Air Fryer Bone-In Pork Chops, which make another great low-carb snack or meal.
We’d love to hear about your experiences! Have you tried this recipe, or do you have another seasoning suggestion? Let us know in the comments below!
Don’t forget to rate and comment below!