Table of Contents
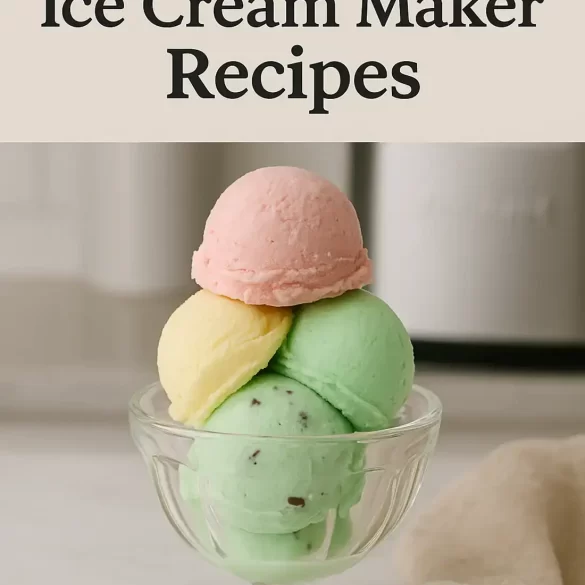
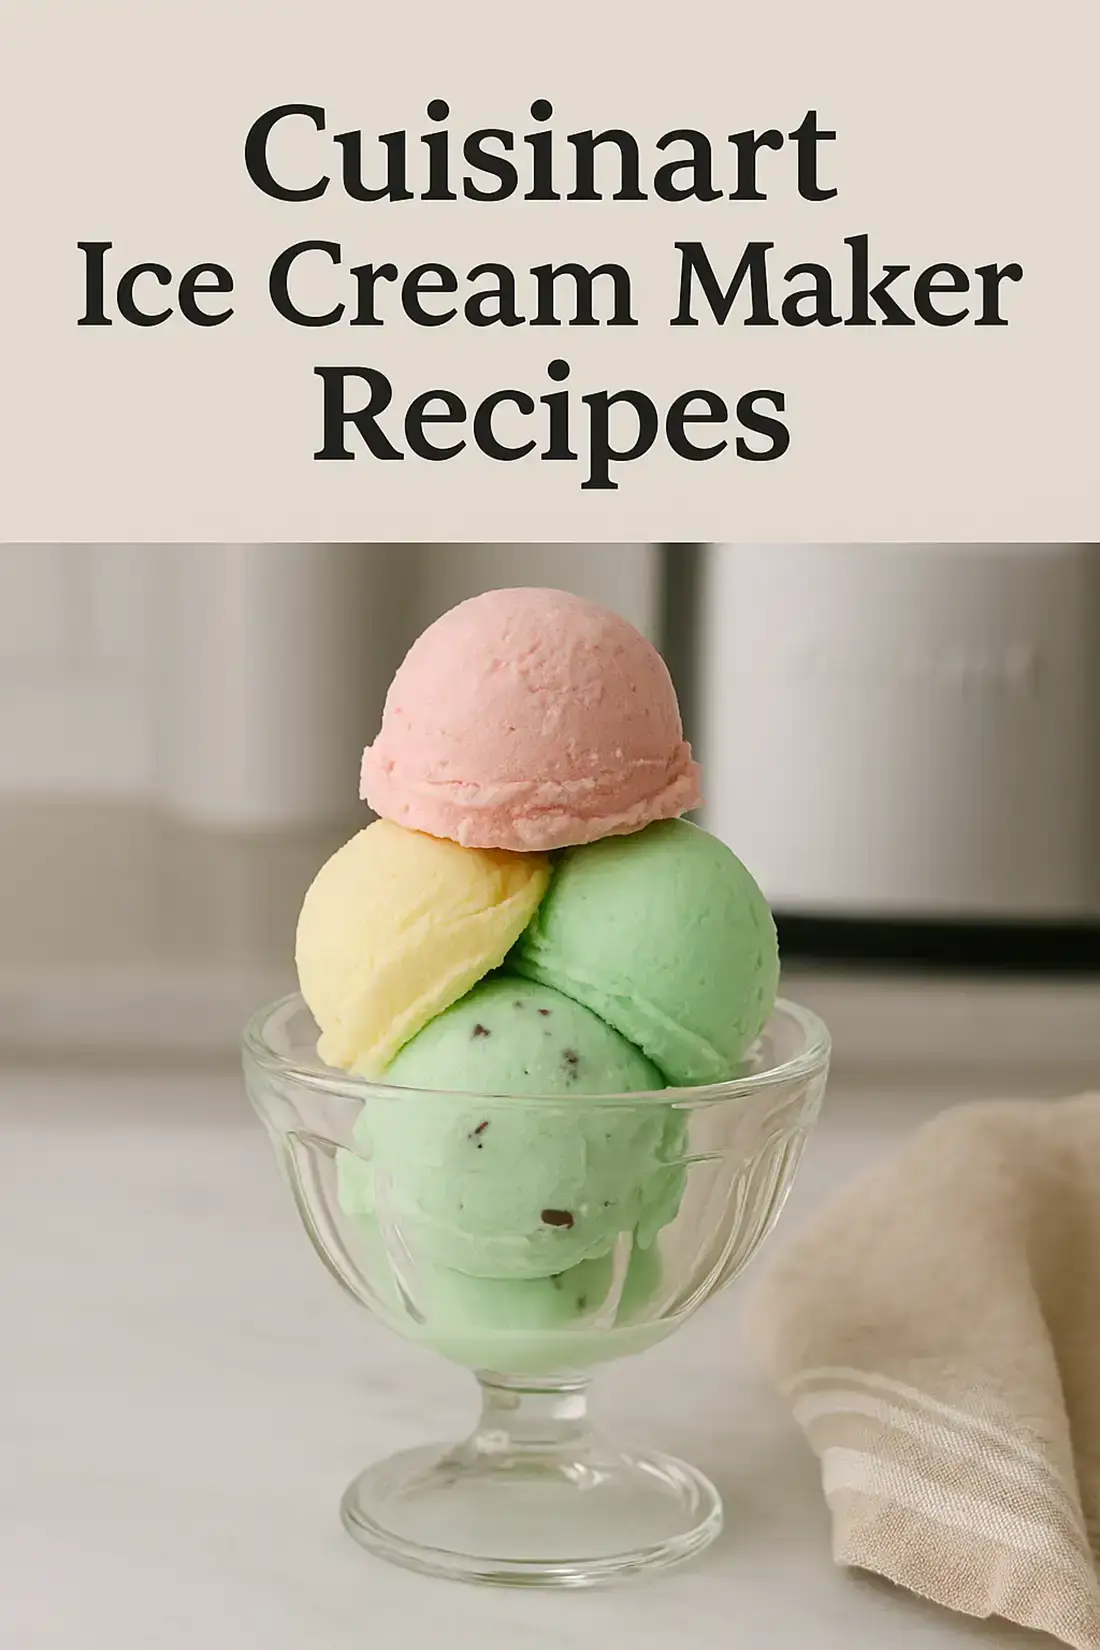
There’s something nostalgic and downright magical about homemade ice cream—especially when it’s churned in your very own Cuisinart ice cream maker. Whether you’re craving rich vanilla, fruity strawberry, or something wildly inventive like coffee toffee crunch, a good base recipe and a reliable machine can make all the difference.
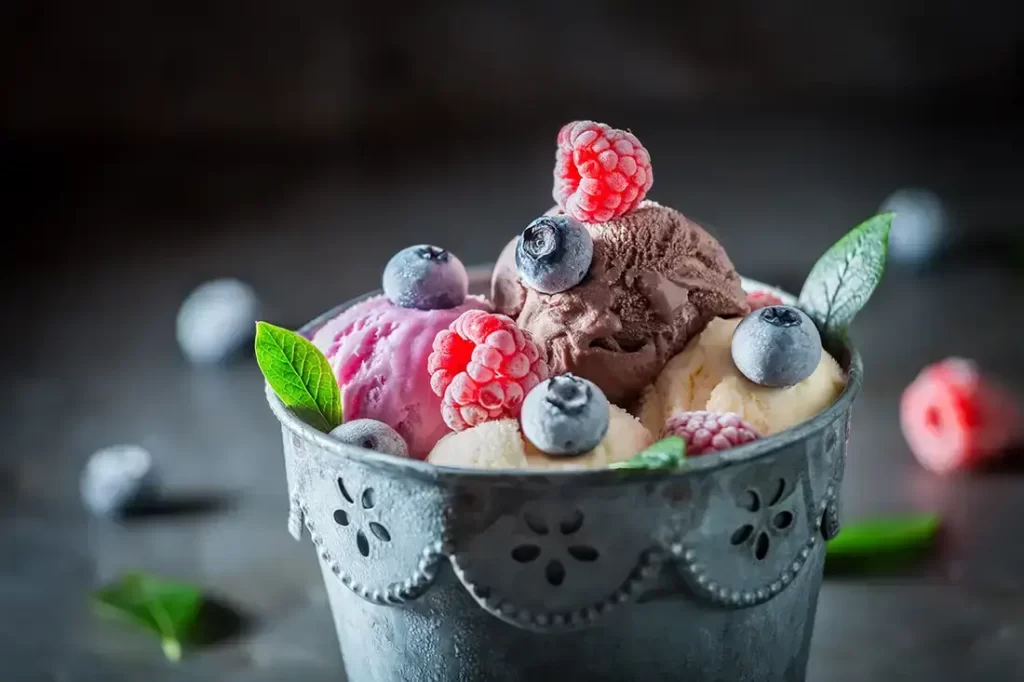
In this guide, we’ll walk you through tried-and-true Cuisinart ice cream maker recipes that will take your dessert game to the next level. From creamy classics to refreshing sorbets and dairy-free alternatives, this post is your go-to source for everything frozen and fabulous. So, grab your ice cream bowl, pop it in the freezer, and get ready to churn like a pro!
Ingredients for Classic Vanilla Ice Cream
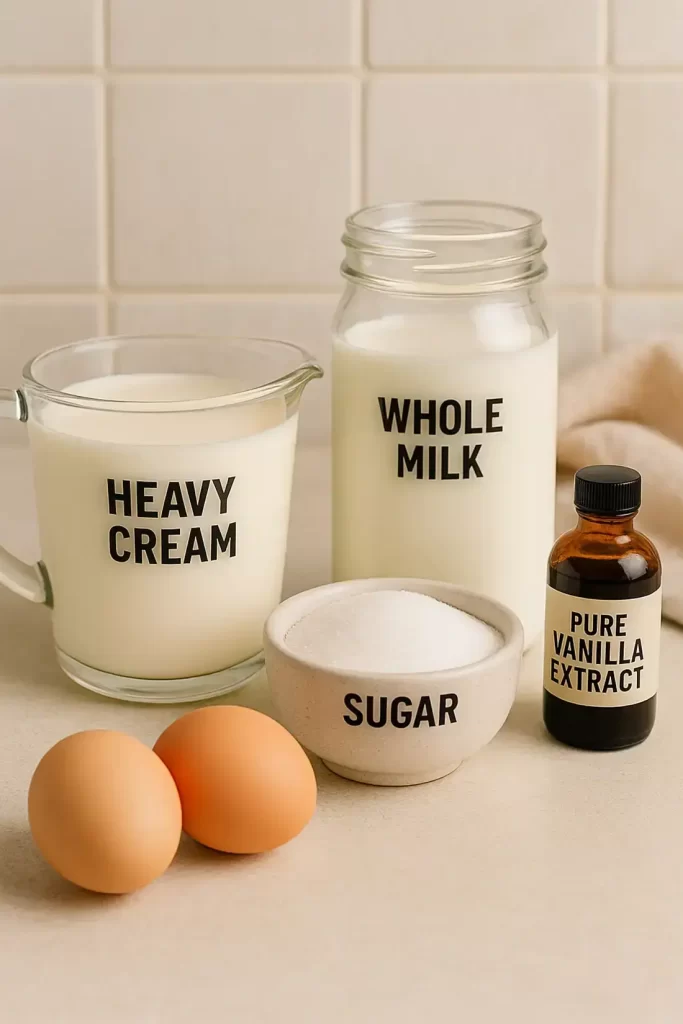
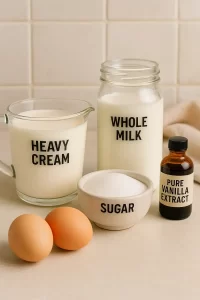
Here’s a go-to, rich and velvety vanilla ice cream recipe for your Cuisinart ice cream maker. This is the base for many flavor variations and a must-learn!
- 2 cups heavy cream – For that creamy texture and rich flavor.
- 1 cup whole milk – Adds volume while maintaining creaminess.
- ¾ cup granulated sugar – Sweetens and balances the richness.
- 1 tablespoon pure vanilla extract – The star flavor; use high-quality vanilla for best results.
- Pinch of salt – Enhances all the other flavors subtly.
Dairy-Free Option: Swap the milk and cream with full-fat coconut milk and use maple syrup instead of sugar.
Step-by-Step Instructions: How to Make Ice Cream in a Cuisinart Ice Cream Maker
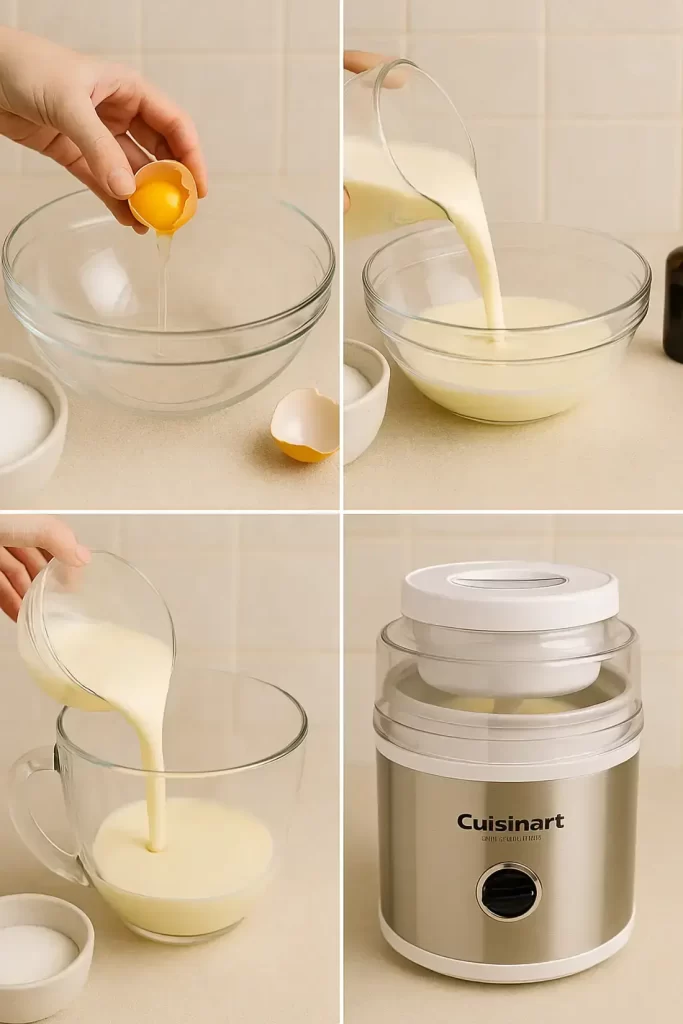
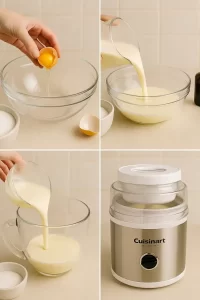
Whether you’re using a Cuisinart ICE-21, ICE-30BC, or ICE-70, the process is practically the same. Here’s the foolproof method:
- Chill the Bowl:
Make sure the freezer bowl has been in the freezer for at least 12-24 hours. It should be completely frozen. - Mix the Base:
In a medium mixing bowl, whisk together the milk and sugar until sugar is dissolved. Stir in the cream, vanilla, and salt. - Chill the Mixture:
Refrigerate the base for 2-4 hours to improve texture and consistency. Cold base = creamier ice cream. - Assemble the Machine:
Set up your Cuisinart ice cream maker according to the manufacturer’s instructions. - Churn the Ice Cream:
Pour the chilled mixture into the ice cream maker and churn for about 20–25 minutes until thickened. - Add Mix-ins (Optional):
If adding cookie bits, fruit, or candy, add them in the last 5 minutes of churning. - Freeze to Firm Up (Optional):
For soft-serve style, enjoy immediately. For scoopable ice cream, transfer to a lidded container and freeze for 2–4 hours.
9 Must-Try Cuisinart Ice Cream Maker Recipes
Here are 9 of our favorite ice cream recipes designed specifically for your Cuisinart:
1. Classic Vanilla Bean Ice Cream
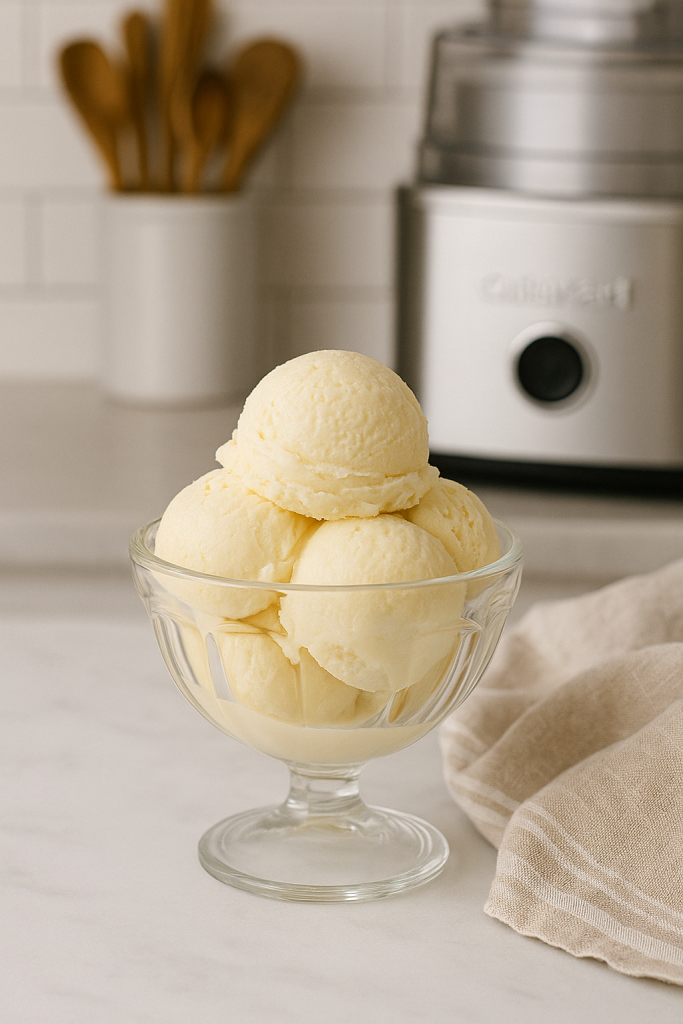
Flavor: Creamy, sweet, aromatic
Add-ins: Crushed Oreos, cookie dough bits
Pro Tip: Use scraped vanilla bean pods for a stronger flavor.
2. Chocolate Fudge Swirl
Flavor: Deep cocoa with a decadent fudge ribbon
Base: Add ½ cup cocoa powder + ½ cup melted dark chocolate
Fudge Swirl: Drizzle fudge sauce during last 2 minutes of churning
3. Strawberry Cheesecake Ice Cream
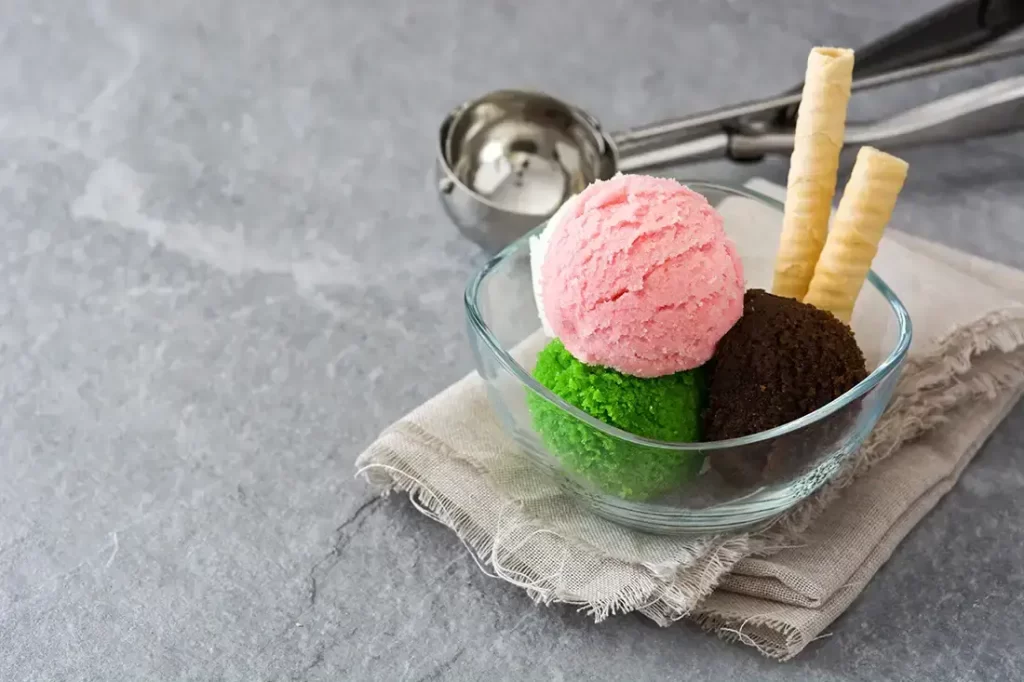
Flavor: Fruity and tangy with graham cracker bits
Base: Blend fresh strawberries with cream cheese before churning
Add-ins: Crushed graham crackers at the end
4. Mint Chocolate Chip
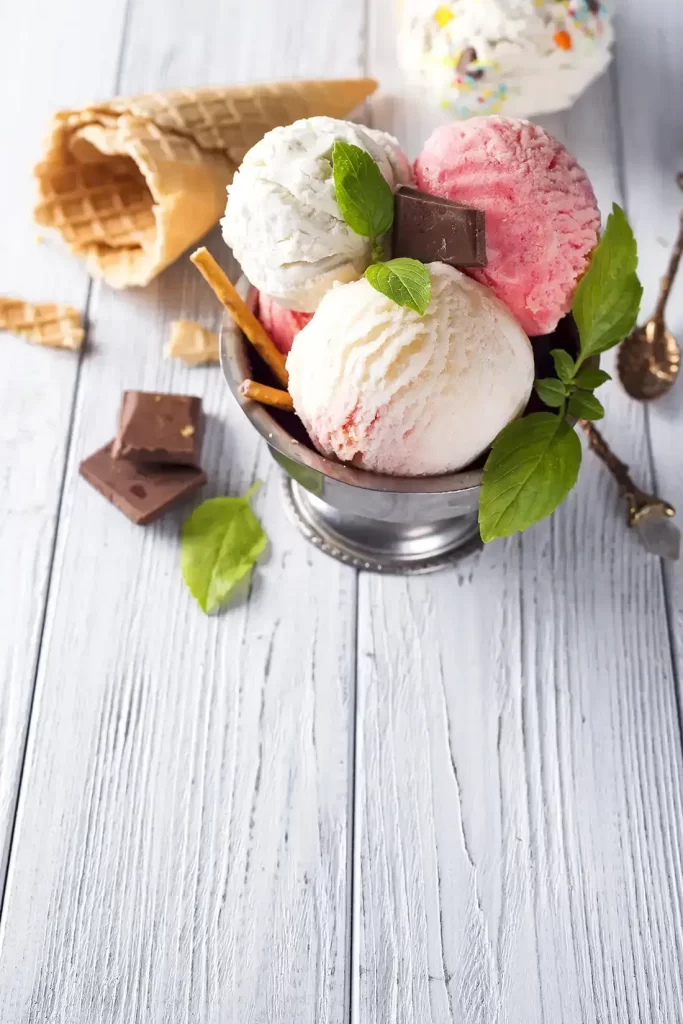
Flavor: Refreshing mint with crunchy chocolate flakes
Base: Add 1 teaspoon peppermint extract and green food coloring
Mix-in: Fold in chopped dark chocolate at the end
5. Peanut Butter Cup
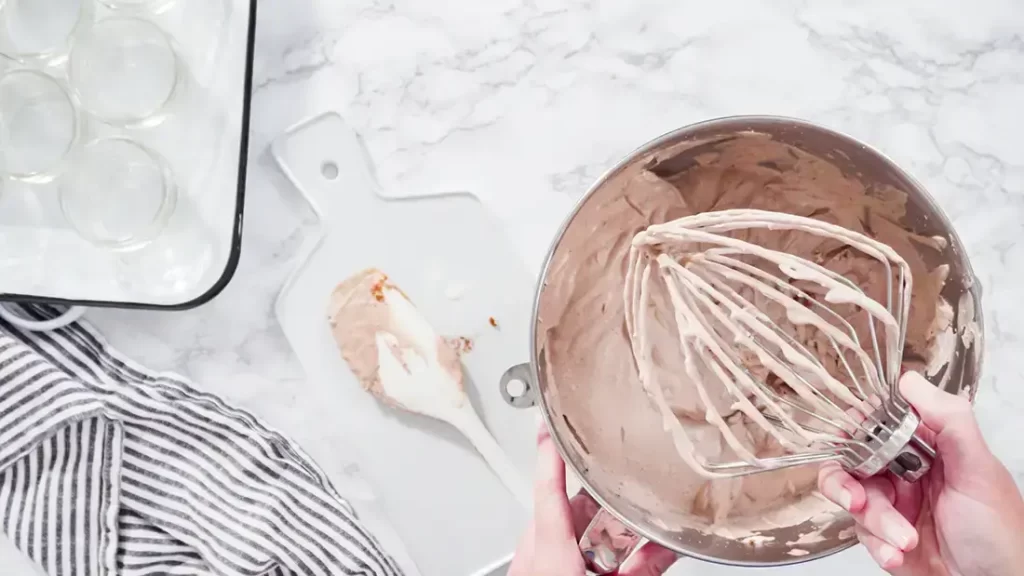
Flavor: Sweet and salty with peanut butter and chocolate
Base: Mix ½ cup peanut butter into the base
Add-ins: Chopped Reese’s cups
6. Coffee Toffee Crunch
Flavor: Bold coffee flavor with crunchy toffee
Base: Add 2 tablespoons instant espresso
Add-ins: Heath bar or toffee bits
7. Coconut Mango Sorbet (Dairy-Free)
Flavor: Tropical, refreshing, and light
Base: Puree mango with coconut milk and lime juice
No dairy required: Vegan-friendly and summer-ready
8. Cookies and Cream
Flavor: Milky vanilla with cookie chunks
Base: Classic vanilla
Add-ins: Crushed Oreos in the last 5 minutes
9. Salted Caramel Swirl
Flavor: Sweet and buttery with a salty finish
Base: Add caramel sauce to classic vanilla
Swirl: Pour salted caramel in layers while freezing
Pro Tips for Perfect Ice Cream Every Time
Want that ultra-smooth, scoopable texture and rich flavor? Here’s how:
- Chill your base: The colder the mixture, the better it churns.
- Don’t overfill: Only fill the bowl ¾ of the way to allow for expansion.
- Use full-fat dairy: For creamy texture and better mouthfeel.
- Add alcohol (optional): A tablespoon of vodka helps prevent ice crystals without adding taste.
- Use airtight containers: Store in freezer-safe, shallow containers with plastic wrap touching the surface to avoid freezer burn.
Serving Suggestions
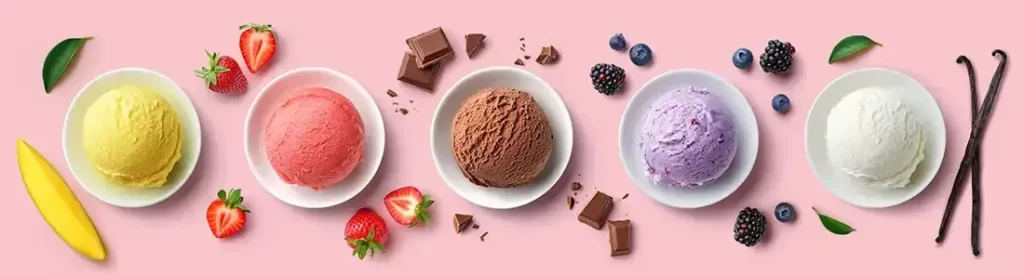
What’s ice cream without the perfect pairing?
- Top with fresh berries or caramelized bananas
- Serve in waffle cones, sugar cones, or on top of brownies
- Make ice cream sandwiches with homemade cookies
- Add to milkshakes or frappes
- Drizzle with hot fudge, caramel, or berry compote
Planning a party? Set up a DIY sundae bar with different toppings and sauces!
Recipe Variations & Customizations
Looking to shake things up? These variations let you get creative:
- Make it spicy: Add a pinch of cayenne to chocolate ice cream for a Mexican chocolate twist.
- Boozy Boost: Add 2 tablespoons of bourbon or rum for adult-only flavors.
- Fruit-forward: Blend mango, peach, or blueberry into the base.
- Low-carb/keto: Use erythritol or monk fruit sweetener and almond milk + heavy cream.
- Vegan Delight: Use oat milk or coconut cream with agave syrup for a fully plant-based version.
- Frozen Yogurt: Substitute some cream with Greek yogurt for a tangy twist.
Recipe Tested & Notes
I tested this recipe several times using a Cuisinart ICE-21 ice cream maker and also tried it in an ICE-30 model. The recipe performed consistently well in both machines, with only minor differences in churning time.
During testing, I found that the most important factor wasn’t the machine itself. It was the temperature of the ice cream base. When I churned a mixture that had been refrigerated overnight, the ice cream reached a smooth, creamy consistency in about 18 to 20 minutes. When I used a base that had only chilled for an hour, it took noticeably longer and produced a slightly icier texture.
I also experimented with different cream-to-milk ratios. Using equal parts milk and cream made the ice cream lighter, but it wasn’t nearly as rich. Increasing the heavy cream produced a smoother mouthfeel and slower melting, making it ideal for serving in bowls or cones.
Some additional testing notes:
- The freezer bowl must be completely frozen before starting.
- Chilling the base overnight gives the best texture.
- Mix-ins should always be added during the final 2 to 3 minutes of churning.
- Homemade ice cream tastes best after freezing for another 2 to 4 hours following churning.
- Fresh vanilla extract produces a noticeably better flavor than imitation vanilla.
After multiple batches, this has become my favorite base recipe because it works reliably with almost every flavor variation.
Mistakes I Made
Making homemade ice cream is easy, but I definitely learned a few lessons while testing these Cuisinart ice cream maker recipes.
I Didn’t Freeze the Bowl Long Enough
The first time I used the machine, the freezer bowl had only been frozen overnight for around 10 hours. The mixture never thickened properly because the bowl wasn’t completely frozen.
Lesson learned:
Freeze the bowl for at least 24 hours whenever possible.
I Added Chocolate Chips Too Early
I once added chocolate chips at the beginning of the churn.
The result?
Almost all of them sank to the bottom and some became lodged near the paddle.
Now I always wait until the final couple of minutes.
I Used Warm Ingredients
I thought the machine would cool everything quickly.
It didn’t.
Warm ingredients increased churning time dramatically and produced softer ice cream.
Now every ingredient goes into the refrigerator before mixing.
I Overfilled the Machine
Ice cream expands while churning.
Filling the bowl nearly to the top caused the mixture to overflow and create a sticky mess.
I now fill the freezer bowl only about two-thirds full.
Personal Cooking Tips Learned From Testing
After making batch after batch, these are the small tricks that consistently improved my results.
- Chill your mixing bowl before preparing the ice cream base.
- Whisk sugar until it is completely dissolved before adding cream.
- Let the finished ice cream harden in the freezer for at least two hours before scooping.
- If adding fruit, cook it briefly to remove excess water before mixing it into the ice cream.
- Toast nuts before adding them. This simple step gives them much deeper flavor.
- Add cookie pieces by hand after churning if you want larger chunks.
- Keep your serving bowls in the freezer for 10 minutes before serving. The ice cream melts much more slowly.
- Use high-quality vanilla extract. Since vanilla is the primary flavor in many recipes, its quality really matters.
One trick I now use every time is placing a piece of parchment paper directly on top of the ice cream before sealing the storage container. This helps prevent freezer crystals from forming.
Why I Prefer This Version
I’ve tried many homemade ice cream recipes over the years, including custard-based recipes that require cooking egg yolks and simpler no-cook versions.
This version has become my favorite for several reasons.
First, it requires very little preparation compared to traditional French-style ice cream. There is no need to temper eggs or worry about scrambling a custard.
Second, it works beautifully with almost every flavor. Whether I’m making vanilla, cookies and cream, strawberry, chocolate, coffee, or salted caramel, this base produces consistent results.
Third, it churns quickly in a Cuisinart machine, making it ideal for busy weekends or family gatherings.
Finally, the texture is incredibly creamy without being overly heavy. It’s rich enough to satisfy but still light enough that everyone comes back for another scoop.
If someone asks me for an easy ice cream recipe for Cuisinart ice cream maker, this is always the recipe I recommend first.
Storage Notes Based on Actual Testing
Homemade ice cream doesn’t contain the stabilizers found in store-bought brands, so proper storage makes a huge difference.
Here’s what worked best during testing.
Refrigerator
Not recommended.
The ice cream melts completely and loses its texture.
Freezer
Store in an airtight freezer-safe container.
For the best flavor and texture:
- Cover the surface with parchment paper or plastic wrap before sealing.
- Store toward the back of the freezer where temperatures remain more consistent.
- Avoid storing in the freezer door.
How Long Does It Last?
Best quality:
5 to 7 days
Still safe:
Up to 2 weeks
After about two weeks, I noticed more ice crystals and slightly duller flavor.
Before Serving
Let the container sit at room temperature for 5 to 10 minutes.
This makes scooping much easier without sacrificing texture.
Equipment Used
You don’t need a commercial kitchen to make these Cuisinart ice cream maker recipes. These are the tools I actually used while testing.
- Cuisinart Ice Cream Maker (ICE-21 or similar model)
- Freezer bowl
- Large mixing bowl
- Balloon whisk
- Rubber spatula
- Measuring cups
- Measuring spoons
- Fine mesh strainer (optional for extra smooth texture)
- Airtight freezer container
- Ice cream scoop
- Instant-read thermometer (optional for custard recipes)
Having everything prepared before starting makes the process much easier and keeps the mixture cold throughout.
FAQs About Cuisinart Ice Cream Maker Recipes
Can I use almond milk instead of whole milk?
Yes, but your ice cream will be less creamy. Add a thickener like coconut cream or cashews for better texture.
How long should I freeze the bowl before using?
A full 12–24 hours is best. Shake it—if you don’t hear any sloshing, it’s ready.
Can I use raw eggs in my ice cream base?
Only if they are pasteurized. Alternatively, use a custard-style base and cook it.
Can I double the recipe?
Only if your model supports larger batches. Overfilling leads to messy overflows.
Can I make these recipes without a Cuisinart ice cream maker?
Yes. The same recipes work in most compressor-style or freezer-bowl ice cream makers. Churning times may vary slightly depending on the machine.
Why is my homemade ice cream too icy?
The most common reasons are using low-fat dairy products, not chilling the base thoroughly, or storing the ice cream uncovered in the freezer.
Should I use table salt or kosher salt?
Either works, but kosher salt provides a cleaner flavor. If using table salt, reduce the amount slightly.
Can I reduce the sugar?
Yes, but only slightly. Sugar does more than sweeten the ice cream. It also helps keep the texture soft and scoopable.
Can I use frozen fruit?
Absolutely. Let the fruit thaw slightly, drain any excess liquid, then puree or chop it before adding it to the mixture.
Why does homemade ice cream melt faster?
Because it contains fewer stabilizers and preservatives than commercial ice cream. That’s actually a sign you’re enjoying real homemade ice cream.
Can I add candy, cookies, or brownies?
Yes. Add them during the final 2 to 3 minutes of churning so they stay evenly distributed without breaking apart.
How do I make softer, scoopable ice cream?
Replace about 1 tablespoon of the sugar with light corn syrup or add 1 tablespoon of vodka to the base. Either method helps reduce ice crystal formation without affecting the flavor.
Can I make multiple batches back to back?
Only if you have an additional frozen freezer bowl. Otherwise, you’ll need to refreeze the bowl for about 24 hours before making another batch.
Which flavor is best for beginners?
Classic vanilla is the easiest place to start. Once you’re comfortable with the process, you can easily turn the same base into chocolate, cookies and cream, mint chocolate chip, coffee, strawberry, or countless other homemade flavors.
Substitutes & Ingredient Alternatives
- Heavy Cream Substitute: Use coconut cream or evaporated milk for a dairy-free or lighter option.
- Sugar Substitute: Try honey, maple syrup, agave, erythritol, or monk fruit.
- Vanilla Extract Substitute: Use vanilla bean paste or scraped vanilla pods.
- Whole Milk Substitute: Swap for almond, oat, soy, or cashew milk—just adjust for creaminess.
- Mix-ins Alternative: Use granola, chopped dried fruits, cereal, or trail mix for texture.
Nutritional Information (Per ½ cup serving – Vanilla Ice Cream)
- Calories: ~210
- Carbohydrates: 18g
- Protein: 3g
- Fat: 14g
- Sugar: 17g
- Sodium: ~35mg
- Fiber: 0g
Note: Nutrition will vary based on mix-ins and recipe adjustments.
Conclusion / Final Thoughts
If you’ve got a Cuisinart ice cream maker tucked away in your kitchen, now’s the time to put it to good use! Whether you’re churning up a classic vanilla or experimenting with your own crazy combination, these Cuisinart ice cream maker recipes offer endless opportunities for creativity and indulgence.
Making homemade ice cream is more than a recipe—it’s an experience. So why not let your imagination run wild?
Have a favorite flavor we didn’t include? Share it in the comments!
Want a printable version? Stay tuned—we’re putting together a downloadable Cuisinart ice cream maker recipes PDF just for you.
If you loved this frozen treat guide, check out our creamy banana pudding recipe next—it’s another summer classic you don’t want to miss!
Don’t forget to rate and comment below. Happy churning!