Table of Contents
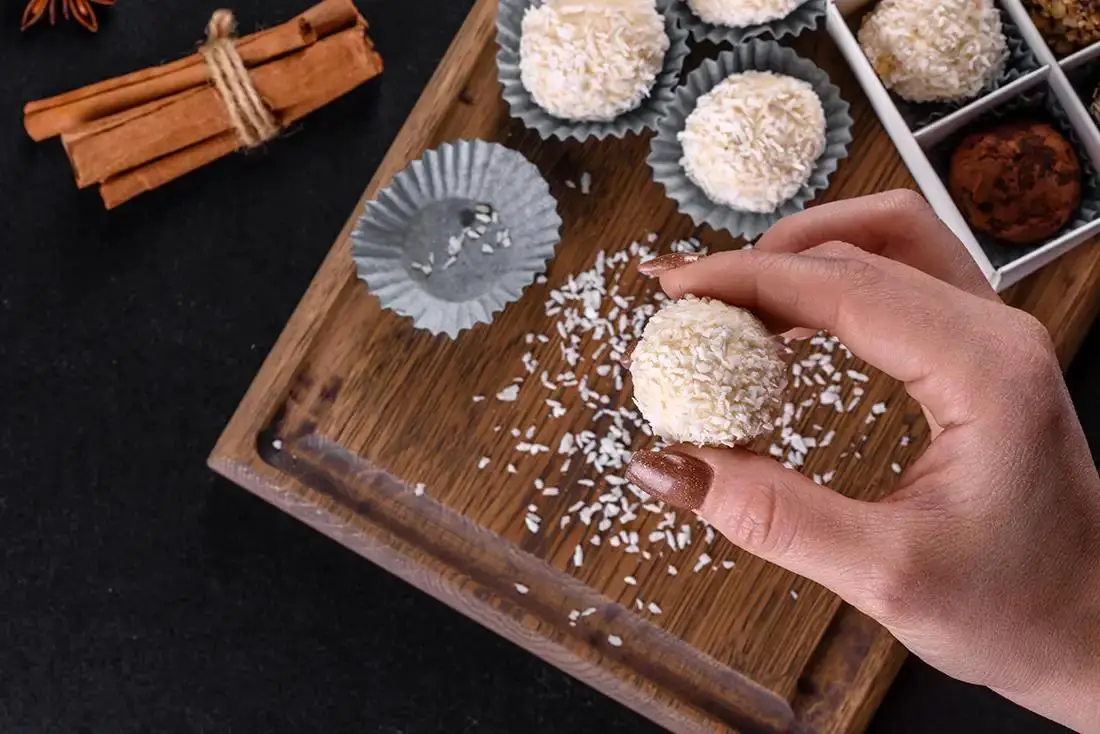
Imagine a bite-sized treat that’s crispy on the outside, chewy on the inside, and bursting with rich coconut flavor—welcome to the world of Mexican Coconut Candy, or Cocadas! This traditional Mexican sweet, known for its tropical allure and simple ingredients, is a celebration of coconut in its purest form. Perfect for special occasions, dessert tables, or simply as a sweet indulgence, cocadas are loved across Mexico and beyond for their satisfying texture and bold, natural sweetness.
This Mexican Coconut Candy Recipe – Cocadas will walk you through each step of creating these delicious morsels. With a handful of pantry staples and a dash of creativity, you’ll master the art of making cocadas that are authentic, delicious, and irresistibly chewy. Whether you’re a fan of coconut treats or new to coconut candy, this recipe offers the perfect introduction to a classic that’s easy to make yet endlessly rewarding. Let’s dive in and bring this tropical treat to life!
How to Make Mexican Coconut Candy – Cocadas
Ingredients
Here’s what you’ll need to make a basic batch of Mexican Coconut Candy Recipe – Cocadas:
- 3 cups unsweetened shredded coconut
- 1 can (14 oz) sweetened condensed milk
- 3 large egg whites
- 1/4 cup granulated sugar
- 1 teaspoon vanilla extract (optional)
- A pinch of salt
For a sweeter variation, some recipes include additional sugar, or for a more decadent twist, drizzle or dip your cocadas in melted chocolate to make coconut chocolate candy.
Instructions to make Mexican Coconut Candy
Follow these easy steps for making Mexican coconut candy:
1. Preheat the Oven and Prepare the Baking Sheet
Preheat your oven to 350°F (175°C). This temperature ensures the cocadas bake evenly, turning golden brown without burning. While the oven is heating, line a baking sheet with parchment paper. The parchment paper helps prevent the coconut candies from sticking to the pan, making for easy removal and cleanup afterward.
2. Whisk the Egg Whites Until Frothy
In a large mixing bowl, crack 3 large egg whites and whisk them until they become frothy. You don’t need to form stiff peaks; you just want a light, foamy texture. This step adds structure to the cocadas, giving them a chewy and slightly crisp exterior. Once the egg whites are foamy, add 1/4 cup of granulated sugar and a pinch of salt. Whisk until the sugar is dissolved and the mixture is smooth.
3. Incorporate the Coconut and Condensed Milk
Next, add 3 cups of unsweetened shredded coconut and 1 can (14 oz) of sweetened condensed milk into the egg white mixture. Gently fold these ingredients in using a spatula. The coconut provides texture and chewiness, while the condensed milk adds sweetness and binds the ingredients together. Stir until the mixture is fully combined and evenly coated. You can also add 1 teaspoon of vanilla extract for an extra layer of flavor, though this is optional.
4. Form the Coconut Mounds
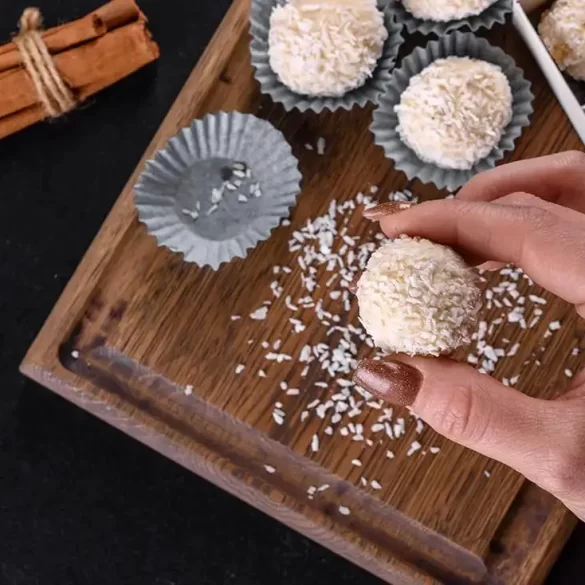
Using a spoon or cookie scoop, portion the coconut mixture into small mounds. Place them onto the prepared baking sheet, leaving about 2 inches between each mound to allow for slight spreading. Each scoop should be roughly 1-2 tablespoons of the mixture, depending on how large you want the candies to be. If you’re feeling creative, you can mold the mixture into different shapes, like small balls or discs.
5. Bake Until Golden Brown
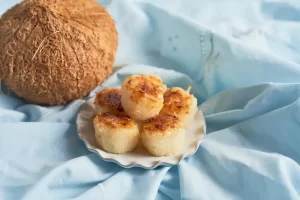
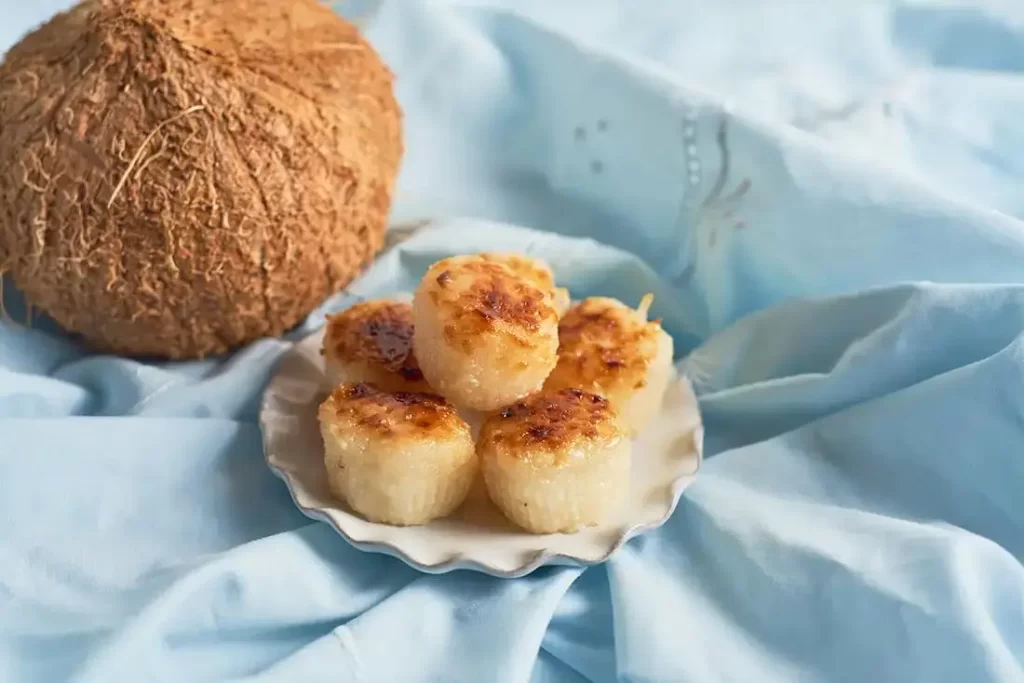
Place the baking sheet in the preheated oven and bake for 15-20 minutes, or until the tops of the cocadas are lightly golden. Keep an eye on them after 15 minutes to avoid overbaking. The ideal cocada has a chewy center with a slightly crisp and golden exterior.
6. Let the Cocadas Cool Before Serving
Once the cocadas are out of the oven, let them cool on the baking sheet for at least 30 minutes. This helps them firm up, making them easier to handle. After they’ve cooled, you can serve them as they are or drizzle them with melted chocolate for an extra indulgent treat. Enjoy!
Tips
- Don’t overbeat the egg whites: This could introduce too much air, causing the texture to be fluffy rather than chewy. A gentle whisk until frothy will suffice.
- For a softer and more decadent cocada, use sweetened condensed milk instead of sugar. It adds richness and ensures a moist, chewy candy.
- If you prefer more color, add food coloring to the mix to create a vibrant rainbow of cocadas. This is a common variation for festive occasions.
- If you’re a fan of coconut treats, you might also enjoy our Coconut Butter Cookies, a delightful recipe combining coconut and buttery goodness.
Variations
- Traditional Cocadas: Stick to the basics with coconut, egg whites, and sugar.
- Cocadas de Leche: Incorporate sweetened condensed milk for a creamier texture.
- Coconut Chocolate Candy: Dip the cooled cocadas in melted chocolate for a rich, sweet contrast.
- Colorful Cocadas: Add natural food coloring to divide the coconut mixture into sections of pink, green, and white. This tri-color version is popular in Mexican celebrations.
- Add-ins: Mix in nuts, dried fruits, or even a dash of cinnamon to enhance the flavor and texture of the candy.
- For a fun twist, try crumbling cocadas over ice cream or serving them with homemade Biscoff Ice Cream Bars for a unique, tropical-inspired dessert.
What to Serve With
Cocadas can be enjoyed on their own as a sweet snack or dessert, but here are some serving ideas:
- Coffee or Mexican hot chocolate: The richness of these beverages pairs well with the sweet, chewy texture of coconut candy.
- Vanilla ice cream: Crumble cocadas over ice cream for a crunchy and tropical twist.
- Fruit platters: Serve cocadas alongside a fresh fruit platter to balance the sweetness with refreshing bites of fruit.
Recipe Tested & Notes
I tested these Mexican Coconut Candy, or Cocadas, several times to find the right balance between chewy coconut, caramelized sweetness, and a lightly golden exterior. Because cocadas use only a few main ingredients, the cooking temperature and moisture level make a big difference in the final texture.
I found that unsweetened shredded coconut gave me better control over the sweetness. Sweetened coconut can also work, but the finished candy becomes noticeably sweeter and may caramelize more quickly.
The coconut texture is important. Finely shredded coconut produced softer, more compact cocadas, while larger coconut flakes created a more rustic and chewy texture. I preferred a medium shred because it gave the candy enough texture without becoming difficult to bite.
One of the most important testing lessons was not to rush the cooking process. The coconut mixture needs enough time to thicken and lose some excess moisture. If it is removed from the heat too early, the cocadas may spread or fail to hold their shape.
I also found that allowing the mixture to cool slightly before shaping made the process much easier. When the mixture was extremely hot, it was difficult to form neat portions.
For baked cocadas, watching the color carefully is important. The edges can go from lightly golden to overly brown quickly. I preferred a light golden color because it gave the candy a pleasant caramelized flavor without making the coconut bitter.
Cooling time also matters. The cocadas may feel soft immediately after baking but firm as they cool.
The final version had chewy coconut, a sweet caramel-like flavor, and lightly crisp golden edges.
Mistakes I Made
Testing this Mexican Coconut Candy recipe helped me identify several mistakes that can affect the final texture.
Using too much liquid
An overly wet mixture took longer to thicken and made the cocadas difficult to shape.
Using sweetened coconut without adjusting the sweetness
Sweetened coconut can make the candy much sweeter than expected. Unsweetened coconut gave me better control.
Cooking over high heat
High heat caused the mixture to brown too quickly before enough moisture had evaporated.
Shaping the mixture while it was extremely hot
The mixture was difficult to handle immediately after cooking. Letting it cool slightly made shaping much easier.
Making the portions too large
Very large cocadas took longer to cook through and were more difficult to brown evenly.
Overbaking
The coconut continued to firm as it cooled. Leaving it in the oven until it looked completely firm resulted in a harder candy.
Not allowing enough cooling time
Trying to move the cocadas while they were still very soft caused some of them to break apart.
Ignoring the edges
The edges brown faster than the center. Watching the color closely helped prevent burning.
Personal Cooking Tips Learned From Testing
These tips consistently gave me the best results:
- Use unsweetened shredded coconut if you want better control over sweetness.
- Choose medium or finely shredded coconut for easier shaping.
- Keep the cooking temperature moderate.
- Stir the mixture regularly while it cooks.
- Cook until the mixture is thick enough to hold its shape.
- Avoid rushing the thickening process.
- Let the mixture cool slightly before shaping.
- Use a cookie scoop for evenly sized cocadas.
- Line the baking sheet with parchment paper.
- Leave space between each coconut mound.
- Watch the edges closely while baking.
- Remove the cocadas when they are lightly golden.
- Do not wait for them to become completely firm in the oven.
- Allow them to cool completely before moving them.
- Use a thin spatula to lift cooled cocadas from the baking sheet.
- Store them in an airtight container once completely cool.
Why I Prefer This Version
I prefer this Cocadas recipe because it highlights the natural flavor and texture of coconut without requiring complicated techniques.
The combination of sweet coconut and caramelized edges makes these little candies incredibly satisfying. They are simple enough for everyday baking but also special enough to serve at holidays, parties, family gatherings, or celebrations.
I particularly like the contrast between the slightly crisp golden exterior and chewy coconut center. That texture is what makes homemade cocadas so enjoyable.
Another reason I prefer this version is that it can be adjusted easily. You can make the cocadas softer or more caramelized depending on how long they cook.
You can also add flavors such as cinnamon, vanilla, lime zest, or a small amount of chocolate to create your own variation.
The recipe is also a great way to introduce a traditional Mexican coconut treat to people who have never tried cocadas before.
Storage Notes Based on Actual Testing
Cocadas stored well at room temperature when completely cooled and kept in an airtight container.
Room Temperature
Allow the cocadas to cool completely before storing them.
Place them in an airtight container and keep them in a cool, dry location away from direct sunlight and heat.
For the best texture and flavor, enjoy them within several days.
If stacking the candies, place parchment paper between layers to prevent sticking.
Refrigerator
Refrigeration is not usually necessary for cocadas, but you can refrigerate them if your kitchen is particularly warm.
Keep them tightly sealed to prevent the coconut from absorbing refrigerator odors.
Allow them to come closer to room temperature before serving for the best texture.
Freezing
Cocadas can be frozen if you need to store them longer.
Place completely cooled candies in a freezer-safe airtight container with parchment paper between layers.
Thaw them at room temperature before serving.
The texture may become slightly softer after freezing and thawing.
Make-Ahead Preparation
Cocadas are excellent for make-ahead desserts because they can be prepared in advance and stored until serving.
Make sure they are completely cool before packaging to prevent condensation from making them sticky.
Equipment Used
These tools make Mexican Coconut Candy easy to prepare:
- Medium saucepan
- Wooden spoon
- Silicone spatula
- Measuring cups
- Measuring spoons
- Cookie scoop
- Baking sheet
- Parchment paper
- Wire cooling rack
- Small bowl, optional
- Thin spatula
- Airtight storage container
- Candy thermometer, optional
FAQs
Can I make vegan cocadas?
Yes! Simply replace the egg whites with aquafaba (the liquid from a can of chickpeas) and use coconut-based sweetened condensed milk. This creates a delicious, vegan-friendly version of coconut candy.
How do I store cocadas?
Cocadas can be stored in an airtight container at room temperature for up to three days. You can refrigerate them for up to a week, or freeze them for longer storage (up to two months). Make sure they’re completely cool before storing.
What’s the difference between cocadas and other coconut candies?
Cocadas are typically chewier and less dense compared to other types of coconut candy bars found in different cultures. They’re often more versatile in terms of texture and additional flavor options, like condensed milk, fruit, or chocolate.
Substitutes
If you can’t find certain ingredients or want to tweak the recipe, here are some easy substitutions:
- Egg whites: Use aquafaba (liquid from canned chickpeas) as a vegan alternative.
- Shredded coconut: If you only have sweetened shredded coconut, reduce the amount of sugar in the recipe.
- Condensed milk: For a dairy-free version, use coconut-based sweetened condensed milk or even homemade coconut milk.
- Vanilla extract: Swap with almond or coconut extract for a unique flavor profile.
Nutrition
A single serving (about 2 cocadas) of this Easy Cocadas Recipe typically contains:
- Calories: 120
- Fat: 6g (mainly from the coconut)
- Carbohydrates: 15g
- Sugars: 13g
- Protein: 2g
The exact nutritional content will vary based on the ingredients and any added mix-ins, such as nuts or chocolate.
In conclusion, Mexican Coconut Candy – Cocadas is a versatile and easy-to-make treat that brings the tropical flavors of coconut to life. Whether you stick to the traditional recipe or experiment with variations, you’re bound to enjoy this chewy, sweet candy.