Table of Contents
If you’re a fan of the irresistible flavor of Biscoff cookies, you’re in for a treat! This blog post will guide you through the process of creating the ultimate dessert indulgence: Homemade Biscoff Ice Cream Bars. These bars combine the creamy richness of homemade ice cream with the warm, caramelized flavor of Biscoff cookies, all coated in a crunchy outer layer. Perfect for any occasion, these bars are easy to make and will delight anyone who tries them.
How to Make Homemade Biscoff Ice Cream Bars
1. Ingredients
The ingredients for these delectable homemade Biscoff ice cream bars are simple, yet they bring a symphony of flavors and textures to life.
For the ice cream base:
- 2 cups heavy cream
- 1 cup whole milk
- ¾ cup granulated sugar
- 1 tablespoon vanilla extract
- ½ cup Biscoff spread (smooth or crunchy)
For the cookie layer:
- 1½ cups Biscoff cookies, crushed (about 20-25 cookies)
- ¼ cup melted butter
For the coating:
- 1½ cups white chocolate or milk chocolate chips
- 2 tablespoons coconut oil (optional, for smoother dipping)
Optional Toppings:
- Extra crushed Biscoff cookies
- Sea salt for a slight contrast in flavor
2. Instructions
Now that you have the ingredients, it’s time to dive into the process of creating your own homemade Biscoff ice cream bars. Follow these steps carefully, and soon enough, you’ll be enjoying the most delicious homemade ice cream treat.
Step 1: Make the Ice Cream Base
- In a medium bowl, whisk together the heavy cream, milk, and sugar until the sugar is completely dissolved. Add the vanilla extract.
- Heat the Biscoff spread in the microwave for about 30 seconds until softened, and mix it into the cream mixture. Stir until fully combined.
- Pour the mixture into an ice cream maker and churn according to the manufacturer’s instructions (usually about 25–30 minutes).
- Once the ice cream has reached a soft-serve consistency, transfer it into a rectangular baking pan lined with parchment paper. Smooth the top and place it in the freezer for at least 2 hours or until firm.
Step 2: Prepare the Biscoff Cookie Layer
- Crush the Biscoff cookies in a food processor until they form fine crumbs.
- Mix the crushed cookies with melted butter until it resembles wet sand.
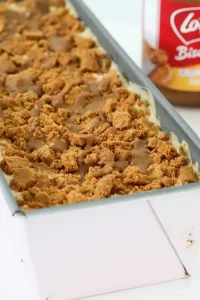
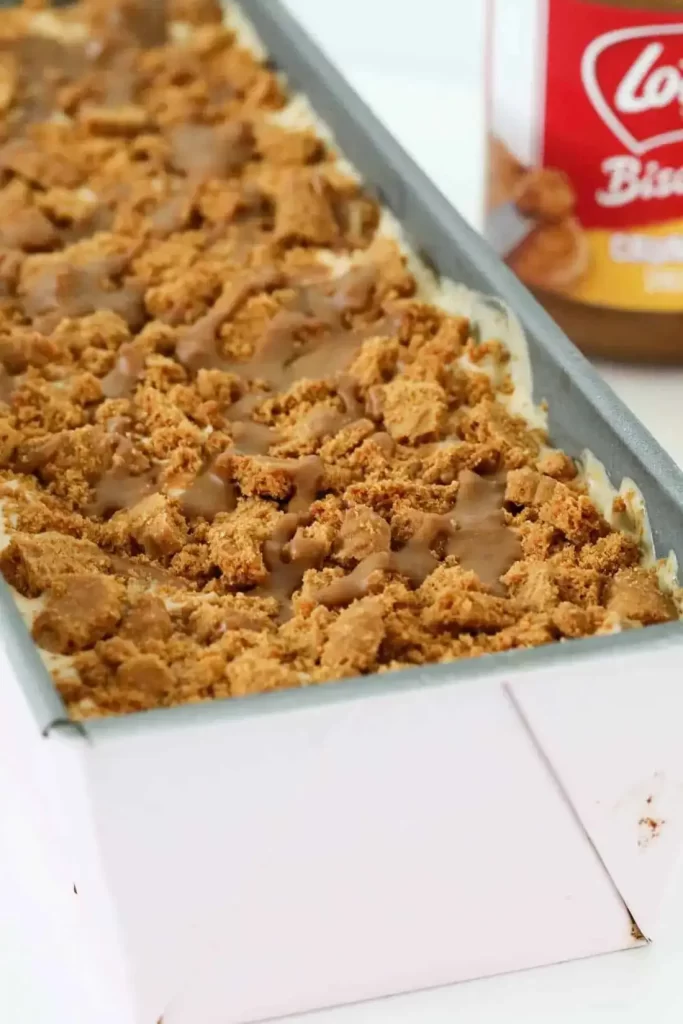
- Remove the frozen ice cream from the freezer and evenly spread the cookie mixture over the top of the ice cream layer, pressing it down gently to adhere. Return the pan to the freezer to allow the cookie layer to firm up, about 30 minutes.
Step 3: Cut into Bars
- Once the ice cream and cookie layers have set, remove the pan from the freezer and lift out the ice cream using the parchment paper.
- Use a sharp knife to cut the ice cream into bar-shaped portions. Place the bars back in the freezer while preparing the chocolate coating.
Step 4: Prepare the Chocolate Coating
- Melt the chocolate chips and coconut oil (if using) in a microwave-safe bowl, stirring every 20 seconds until smooth.
- Allow the melted chocolate to cool slightly, but not harden, before dipping the bars.
Step 5: Coat the Bars
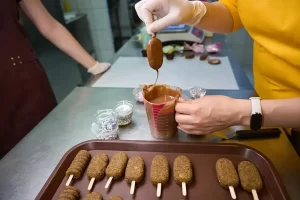
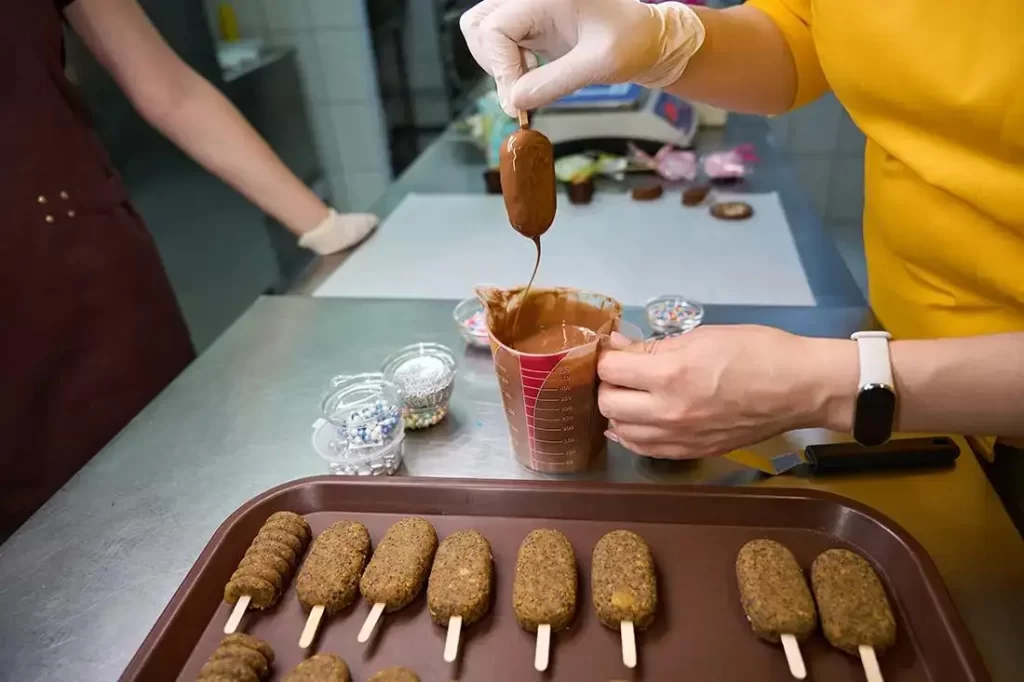
- Take each frozen ice cream bar and dip it into the melted chocolate, coating all sides evenly. If desired, sprinkle crushed Biscoff cookies or a pinch of sea salt over the chocolate before it hardens.
- Place the coated bars on a parchment-lined tray and return them to the freezer for another 15–20 minutes, or until the chocolate shell is fully set.
Step 6: Serve and Enjoy!
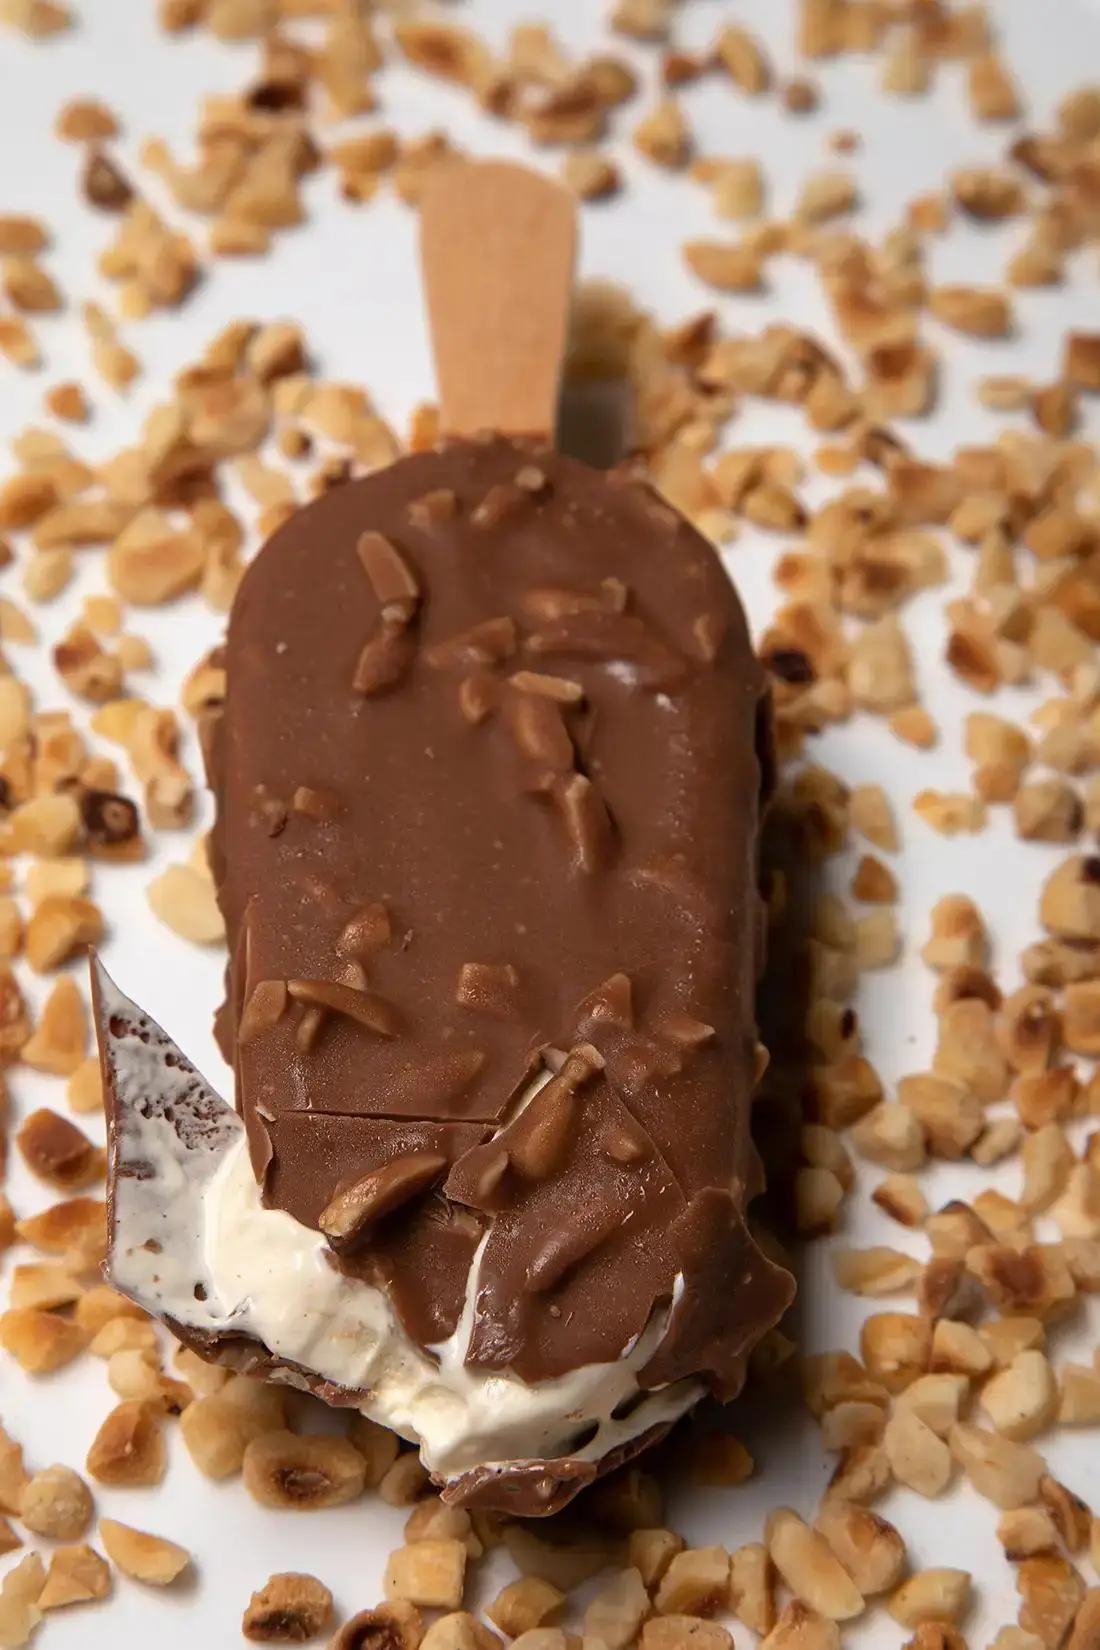
Once the chocolate has hardened, your Homemade Biscoff Ice Cream Bars are ready to enjoy! Serve them straight from the freezer for a refreshing, indulgent treat.
3. Tips
Making homemade ice cream bars can be a fun and rewarding process. Here are some tips to ensure your Biscoff ice cream bars turn out perfect every time:
- Use quality ingredients: Opt for high-quality heavy cream, milk, and chocolate for the best flavor and texture.
- Freeze between steps: Be patient and ensure that the ice cream and cookie layers are fully frozen before cutting and coating. This will make the bars easier to handle and result in a neater appearance.
- Microwave Biscoff spread: If the Biscoff spread is too thick, warming it slightly in the microwave will make it easier to blend into the ice cream base.
- Work quickly: When dipping the bars into the melted chocolate, work fast to prevent the ice cream from melting. Keeping the bars frozen and firm will make the coating process much smoother.
4. Variations
There’s plenty of room to get creative with this homemade Biscoff ice cream bars recipe! Here are some delicious variations to consider:
- Chocolate Swirl: Swirl melted milk or dark chocolate into the ice cream base before freezing for a beautiful marbled effect.
- Nutty Delight: Add a layer of crushed toasted almonds or hazelnuts along with the Biscoff cookie layer for added crunch and flavor.
- Biscoff Caramel Bars: Drizzle caramel sauce over the ice cream before adding the cookie layer for a decadent twist.
- Double Biscoff Bars: Incorporate extra Biscoff spread between the cookie layer and the ice cream for an even richer flavor of Biscoff.
5. What to Serve With
Homemade Biscoff Ice Cream Bars are indulgent on their own, but pairing them with complementary treats will elevate your dessert experience:
- Hot coffee or espresso: The deep, bold flavors of coffee contrast beautifully with the creamy sweetness of the bars.
- Milkshakes: Serve alongside a vanilla or Biscoff milkshake for a creamy, refreshing combination.
- Fresh fruit: Berries like strawberries, raspberries, or blueberries add a fresh, tangy note to balance out the sweetness.
- Whipped cream: A dollop of lightly sweetened whipped cream can provide a light and fluffy texture alongside the rich ice cream bars.
Recipe Tested & Notes
I tested these Homemade Biscoff Ice Cream Bars several times to get the right balance of creamy ice cream, Biscoff cookie flavor, and a firm chocolate coating. Because this is a no-churn recipe, the texture depends heavily on how the whipped cream is prepared and how the ice cream mixture is frozen.
The biggest lesson from testing was to avoid overmixing the whipped cream. Properly whipped cream gives the bars their light, creamy texture, while over-whipping can make the mixture grainy and heavy.
I also found that slightly softening the Biscoff cookie butter before mixing made it much easier to incorporate. Very cold cookie butter can form small pockets instead of blending evenly throughout the ice cream.
The Biscoff cookie pieces added an excellent contrast to the creamy filling. I preferred using a combination of finely crushed cookies for flavor throughout the mixture and slightly larger pieces for occasional crunchy bites.
Freezing time also made a big difference. The bars need to be thoroughly frozen before coating them in chocolate. If the ice cream is too soft, the chocolate coating can melt immediately and become difficult to work with.
For the chocolate coating, I found that allowing the melted chocolate to cool slightly before dipping was important. Very hot chocolate can soften the frozen ice cream too quickly.
Another useful testing tip was to work with only a few bars at a time. Keeping the remaining bars in the freezer while coating each batch helps them stay firm.
The final bars were creamy, crunchy, rich, and full of the caramelized spice flavor associated with Biscoff cookies. The combination of cold Biscoff ice cream and a crisp chocolate shell makes these especially fun for summer desserts, parties, or make-ahead treats.
Mistakes I Made
Over-whipping the cream
I initially whipped the cream too far, which made the mixture heavier and slightly grainy. Stopping at firm peaks gave a much smoother result.
Using cold cookie butter
Cold cookie butter was difficult to mix into the ice cream base and left small pockets. Slightly softening it made incorporation much easier.
Making the cookie pieces too large
Large chunks were difficult to bite when frozen. A mixture of fine crumbs and small pieces worked better.
Freezing the bars for too little time
Bars that were not completely frozen softened quickly during coating. Giving them enough freezer time made the chocolate-dipping step much easier.
Dipping all the bars at once
Leaving all the bars at room temperature while working caused them to soften. I found it better to remove only a few at a time.
Using chocolate that was too hot
Hot melted chocolate softened the frozen ice cream immediately. Letting the chocolate cool slightly made coating much easier.
Making the chocolate coating too thick
A very thick coating became difficult to bite when frozen. A thin, even layer created a better contrast between the crisp shell and creamy center.
Not lining the pan properly
Ice cream can be surprisingly difficult to remove from an unlined pan. Parchment paper made lifting and cutting the frozen slab much easier.
Cutting with a cold or dull knife
A sharp knife warmed slightly under hot water made cleaner cuts through the frozen ice cream.
Personal Cooking Tips Learned From Testing
These tips consistently gave me the best results:
- Use cold heavy cream when whipping.
- Whip the cream only until firm peaks form.
- Do not overmix the no-churn base.
- Slightly soften the Biscoff cookie butter before mixing.
- Crush some cookies finely and leave some pieces slightly larger.
- Line the pan with parchment paper.
- Leave enough parchment overhang to lift the frozen mixture.
- Spread the ice cream mixture evenly.
- Freeze the slab until completely firm.
- Use a sharp knife for cutting.
- Warm the knife slightly before slicing if necessary.
- Keep cut bars in the freezer while preparing the coating.
- Melt chocolate gently.
Storage Notes Based on Actual Testing
These Biscoff Ice Cream Bars should always be stored in the freezer.
Freezer Storage
After the chocolate coating has fully hardened, place the bars in an airtight freezer-safe container.
For the best texture and flavor, separate individual bars with parchment paper so they do not stick together.
You can also wrap each bar individually before placing them in the container.
Preventing Freezer Burn
Make sure the container is tightly sealed.
Excess air can cause ice crystals and freezer burn, which can affect both the ice cream texture and chocolate coating.
How Long to Store
For the best quality, enjoy the bars within a reasonable homemade frozen-dessert storage period. Although they can remain frozen longer, the texture and flavor are best when they are not stored indefinitely.
Serving After Freezing
Allow the bars to sit at room temperature for a few minutes before eating.
This gives the ice cream enough time to soften slightly while keeping the chocolate shell crisp.
Chocolate Coating Storage
The chocolate shell can become slightly dull or develop a whitish appearance after prolonged freezing. This does not necessarily mean the bars are spoiled, but it can affect their appearance.
Refreezing
Avoid repeatedly thawing and refreezing the bars. This can create ice crystals and make the ice cream less creamy.
Storage Tip
I prefer wrapping each bar individually in parchment or freezer-safe wrapping before placing them in a sealed container. It makes grabbing one bar at a time much easier and helps protect the remaining bars.
Equipment Used
These tools make Homemade Biscoff Ice Cream Bars easy to prepare:
- Loaf pan or square baking pan
- Parchment paper
- Mixing bowls
- Electric hand mixer or stand mixer
- Rubber spatula
- Measuring cups
- Measuring spoons
- Food processor, optional
- Rolling pin, optional for crushing cookies
- Microwave-safe bowl or double boiler
- Fork or dipping tool
- Sharp knife
- Cutting board
- Freezer-safe airtight container
- Baking sheet or tray
- Cooling rack, optional
6. FAQs
Q: Can I make these ice cream bars without an ice cream maker?
A: Yes! You can still make the ice cream base by mixing the ingredients thoroughly and freezing the mixture in a shallow dish. Stir every 30 minutes until you achieve the desired texture.
Q: How long can I store Biscoff ice cream bars in the freezer?
A: These ice cream bars can be stored in an airtight container in the freezer for up to 2–3 weeks.
Q: Can I use dark chocolate for the coating?
A: Absolutely! Dark chocolate adds a rich, slightly bitter contrast to the sweet Biscoff ice cream, making it an excellent alternative to milk or white chocolate.
Q: Are these ice cream bars gluten-free?
A: Unfortunately, Biscoff cookies contain wheat, so these bars are not gluten-free. However, you can try making a gluten-free version using gluten-free cookie alternatives.
Q: Can I make Biscoff ice cream bars without an ice cream maker?
A: Yes, you can easily make Homemade Biscoff Ice Cream Bars without an ice cream maker by using a no-churn method. Simply whip the cream until soft peaks form, mix it with condensed milk and Biscoff spread, then freeze the mixture in a mold until firm. This method creates a smooth and creamy texture without any special equipment.
7. Substitutes
If you’re missing certain ingredients, here are some suitable substitutes:
- Biscoff cookies: If you can’t find Biscoff cookies, use graham crackers, digestive biscuits, or any other spiced cookies as a substitute.
- Coconut oil: Instead of coconut oil, you can use any neutral-flavored oil to thin out the chocolate coating.
- White chocolate: Swap white chocolate for milk or dark chocolate, depending on your preference.
- Heavy cream: You can use a dairy-free heavy cream alternative (like coconut cream) for a vegan version of the recipe.
8. Nutrition
Here’s the approximate nutritional breakdown per serving of one homemade Biscoff ice cream bar (assuming the recipe makes 8 bars):
- Calories: 360
- Fat: 22g
- Saturated Fat: 12g
- Carbohydrates: 40g
- Sugar: 30g
- Protein: 4g
- Fiber: 1g
Keep in mind that these values can vary depending on the specific brands and amounts of ingredients used.
In conclusion, mastering the art of How to Make Homemade Biscoff Ice Cream Bars Recipe is a surefire way to impress your friends and family with a delicious treat. These bars are not only easy to prepare but also bursting with the distinctive, caramelized flavor of Biscoff. Whether you’re a seasoned dessert maker or trying your hand at something new, this recipe for Biscoff Ice Cream Bars is one you’ll come back to time and time again.