Table of Contents
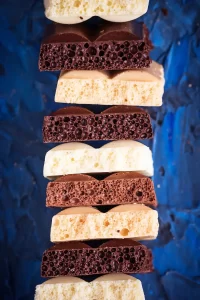
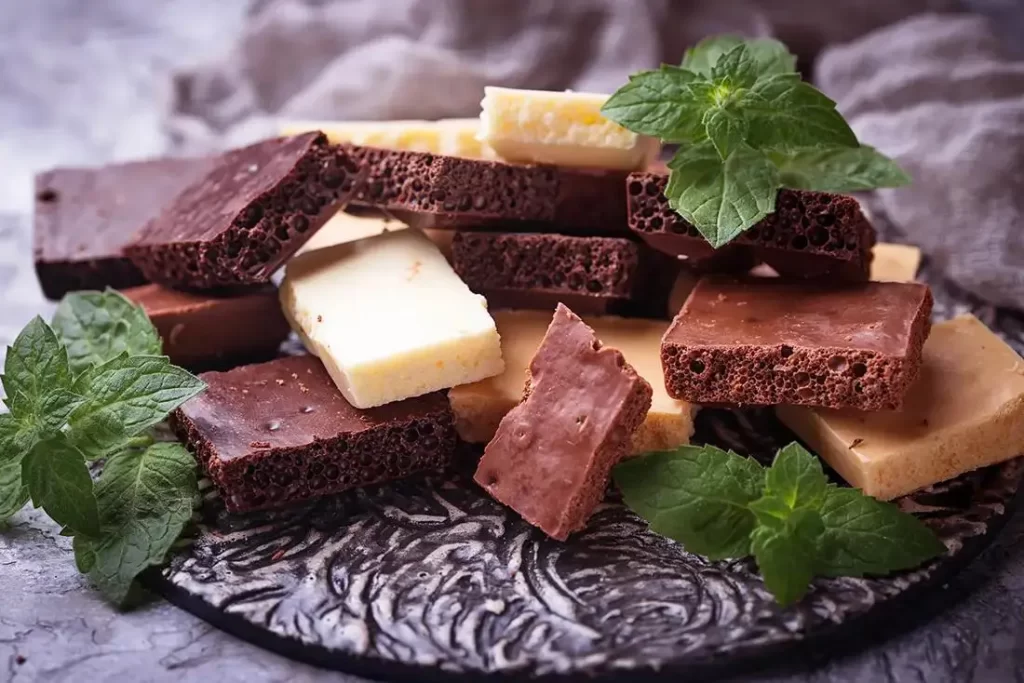
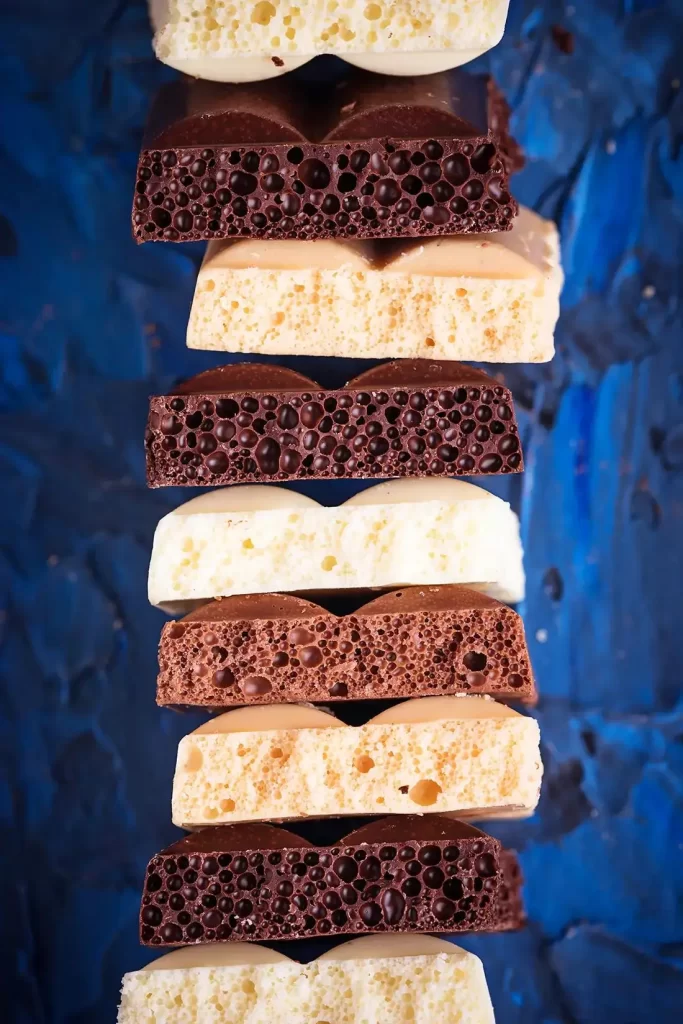
Sponge candy, a beloved treat in Western New York and Pennsylvania, has a delightfully light, crispy texture with a honeycomb-like appearance. It’s a unique type of confection that melts in your mouth and pairs perfectly with a rich chocolate coating. Known locally as Buffalo sponge candy, this treat is cherished by many for its combination of sweetness and texture.
In this detailed guide, we will take you through the process of making sponge candy from scratch. Along the way, we’ll incorporate tips, variations, and answer frequently asked questions (FAQs). You’ll also learn about possible substitutes and the nutritional information for this delicious dessert.
How to Make Sponge Candy Recipe
Ingredients
- 2 cups granulated sugar: This forms the primary base of the candy, providing the sweetness and caramelization needed to create the hard candy structure.
- ½ cup light corn syrup: Corn syrup helps prevent the sugar from crystallizing, ensuring the candy remains smooth and easy to work with.
- ¼ cup water: Water dissolves the sugar and corn syrup, allowing the mixture to heat evenly during the cooking process.
- 1 tablespoon white vinegar: The vinegar reacts with the sugar to help create a light, crisp texture by breaking down the sucrose into glucose and fructose.
- 1 tablespoon baking soda: Baking soda is the key ingredient that causes the mixture to foam up, giving the candy its signature airy, sponge-like texture.
- 1 pound of chocolate (for dipping): Once the sponge candy cools, dipping the pieces in melted chocolate adds a delicious, rich layer of flavor and texture contrast.
Instructions
- Prepare Your Equipment: Line a baking sheet with parchment paper and set it aside. You will also need a heavy-bottomed saucepan, a candy thermometer, and a whisk.
- Create the Candy Base: In your saucepan, combine the sugar, corn syrup, water, and vinegar. Stir over medium heat until the sugar dissolves completely. Once dissolved, increase the heat to high and cook the mixture until it reaches 300°F (hard crack stage) on your candy thermometer.
- Incorporate the Baking Soda: Once the sugar mixture reaches the desired temperature, remove it from heat and quickly whisk in the baking soda. The mixture will foam up, which gives the candy its signature airy texture.
- Pour and Cool: Immediately pour the foamy mixture onto your prepared baking sheet. Do not spread it, as this can flatten the candy and reduce its characteristic airy texture. Allow it to cool completely for about 2 hours.
- Optional Chocolate Coating: Melt your chocolate in a microwave or double boiler. Once the sponge candy has cooled, break it into bite-sized pieces and dip them in melted chocolate. Let the chocolate harden before serving.
Tips for the Best Sponge Candy
- Use a Candy Thermometer: Precision is crucial in candy-making. Make sure your candy thermometer is properly calibrated, and avoid making sponge candy on humid days, as moisture in the air can affect the texture.
- Be Quick with Baking Soda: As soon as you remove the sugar syrup from the heat, whisk in the baking soda quickly and thoroughly to ensure even distribution and proper aeration.
- Storage: Sponge candy should be stored in an airtight container at room temperature to prevent it from absorbing moisture, which can make it sticky and chewy.
Variations
- Chocolate Sponge Candy: After the candy has cooled and set, you can dip it in dark, milk, or white chocolate for a classic Buffalo-style treat.
- Flavoring Options: To add a twist, you can incorporate flavor extracts like vanilla or almond into the sugar mixture before adding the baking soda.
- Sponge Candy Erie PA Style: In Erie, Pennsylvania, sponge candy tends to be softer and less crunchy compared to the Buffalo version. Adjust the cooking time slightly to achieve a similar texture by lowering the temperature to around 280°F.
- For a different kind of candy, these Mexican Coconut Candies offer a chewy and nutty delight.
What to Serve with Sponge Candy
Sponge candy is delightful on its own, but it pairs wonderfully with a variety of other treats. You can serve it alongside:
- Ice Cream: The crunchy texture complements creamy ice cream flavors like vanilla or chocolate.
- Coffee or Hot Chocolate: Sponge candy’s sweetness is balanced beautifully when paired with a hot beverage.
- Holiday Desserts: Add it to your holiday candy trays along with fudge and other confections for an indulgent treat.
Recipe Tested & Notes
I tested this Sponge Candy recipe several times to get that classic combination of a crisp, airy, honeycomb-like center and a delicate chocolate coating. Sponge candy can look simple, but the final texture depends heavily on temperature, timing, and how the baking soda is incorporated.
The biggest testing lesson was to have every ingredient and piece of equipment ready before starting. Once the sugar mixture reaches the correct temperature, there is very little time to stop and measure ingredients or search for a missing tool.
Using a candy thermometer made the process much more reliable. I found that trying to judge the syrup only by color or appearance was less consistent.
The baking soda is the ingredient that creates the characteristic airy structure. When it is added, the mixture immediately expands and becomes foamy. I found that gently folding it in was better than aggressively stirring because excessive mixing can cause some of the trapped air to escape.
I also learned that the syrup should not be disturbed too much while it is cooking. Stirring at the wrong stage can encourage unwanted crystallization.
For the best texture, the candy needs to cool completely before cutting or dipping. Cutting it while it is still warm can compress the delicate honeycomb structure.
Chocolate coating is optional, but I preferred dipping or drizzling the cooled pieces because the chocolate adds a creamy contrast to the crisp, airy candy.
Humidity was another important factor during testing. Sponge candy is extremely sensitive to moisture, so making it on a dry day produced much better results than preparing it in a humid environment.
The final tested version had a light, crunchy interior that dissolved pleasantly in the mouth with a rich chocolate finish.
Mistakes I Made
Testing this recipe helped me identify several mistakes that can affect Sponge Candy.
Not preparing everything beforehand
Once the syrup reaches the correct temperature, the recipe moves quickly. Having everything measured and ready made the process much easier.
Not using a candy thermometer
Guessing the temperature made the results inconsistent. A reliable candy thermometer gave me much better control.
Overstirring the syrup
Too much stirring during cooking can encourage sugar crystallization. Gentle handling produced better results.
Cooking the syrup to the wrong temperature
Under-cooking resulted in candy that was too soft or sticky, while over-cooking produced a darker, harder candy with a less delicate texture.
Adding too much baking soda
More baking soda does not necessarily mean more bubbles. Too much can leave a noticeable alkaline or bitter flavor.
Stirring too aggressively after adding baking soda
The mixture needs to expand and retain its air pockets. Gentle folding worked better than vigorous stirring.
Pouring too slowly
Once the baking soda is incorporated, the candy starts setting quickly. Pouring it promptly into the prepared pan gave the best results.
Pressing the candy down
Trying to flatten the foamy mixture removed some of the delicate air pockets. I found it better to spread it gently only when necessary.
Cutting it while warm
Warm sponge candy is fragile and can collapse or become sticky. Allowing it to cool completely gave cleaner pieces.
Making it on a humid day
Humidity can quickly soften sponge candy. A dry environment produced a much better crisp texture.
Personal Cooking Tips Learned From Testing
These tips consistently gave me the best results:
- Read the complete recipe before starting.
- Measure every ingredient before heating the sugar.
- Use a reliable candy thermometer.
- Line the pan before beginning.
- Keep the baking soda ready to add immediately.
- Avoid unnecessary stirring while the syrup cooks.
- Monitor the temperature carefully.
- Do not leave the cooking sugar unattended.
- Add the baking soda quickly once the syrup reaches the correct stage.
- Fold gently rather than aggressively stirring.
- Pour the foamy mixture into the pan immediately.
- Do not press down on the candy.
- Allow it to cool completely before breaking or cutting.
- Work in a dry environment whenever possible.
- Dip the candy in chocolate only after it has completely cooled.
- Store finished sponge candy in an airtight container.
- Keep moisture away from the finished candy.
Storage Notes Based on Actual Testing
Sponge candy is particularly sensitive to moisture, so proper storage is one of the most important parts of keeping its crisp texture.
Room Temperature
Allow the candy to cool completely before storing.
Place it in a completely dry, airtight container and keep it at room temperature in a cool, dry location.
Do not store it uncovered because the candy quickly absorbs moisture from the air.
If the candy is chocolate-covered, make sure the chocolate has fully set before placing the pieces in the container.
Refrigerator
I generally do not recommend refrigerating sponge candy unless necessary.
The refrigerator can expose the candy to moisture and condensation when it is removed, which may make the honeycomb center sticky.
If you must refrigerate it, use a very well-sealed airtight container and allow it to return to room temperature while still sealed.
Freezing
Freezing is not my preferred storage method for sponge candy because moisture and condensation can negatively affect its crisp texture.
For the best results, make smaller batches and store them properly at room temperature.
Keeping Sponge Candy Crisp
The most important storage lesson from testing is to keep moisture away.
Use an airtight container and avoid repeatedly opening it in a humid kitchen.
Do not store sponge candy next to foods with strong moisture or odors.
If you are gifting the candy, package it in an airtight container or sealed food-safe bag shortly after it has completely cooled.
Equipment Used
These tools make Sponge Candy much easier and safer to prepare:
- Heavy-bottomed saucepan
- Candy thermometer
- Silicone spatula
- Wooden spoon
- Measuring cups
- Measuring spoons
- Baking pan
- Parchment paper
- Pastry brush, optional
- Heat-resistant gloves or oven mitts
- Large mixing bowl, optional
- Sharp knife
- Cutting board
- Microwave-safe bowl or double boiler for chocolate
- Airtight storage container
FAQs
What is sponge candy?
Sponge candy is a type of toffee with an airy, honeycomb-like texture. It’s made by adding baking soda to a hot sugar syrup, which causes the mixture to foam up, giving the candy its characteristic look and feel.
Why is my sponge candy chewy instead of crispy?
Sponge candy can become chewy if exposed to moisture or if it’s cooked at too low a temperature. Ensure that you reach the correct temperature (300°F) and store the candy in a dry environment to maintain its crunchiness.
Can I make sponge candy without a thermometer?
While it’s possible, using a candy thermometer ensures accuracy. Without one, it can be difficult to gauge when the sugar mixture reaches the hard crack stage, leading to inconsistent results.
Why did my sponge candy collapse?
This can happen if the baking soda isn’t thoroughly mixed into the sugar syrup or if the candy is disturbed too much before it sets. Make sure to whisk the baking soda in quickly and pour the mixture without spreading it.
Is sponge candy gluten-free?
Yes, sponge candy is typically gluten-free as its main ingredients—sugar, corn syrup, water, vinegar, and baking soda—do not contain gluten. However, if you’re coating the candy in chocolate, check the chocolate’s label to ensure it is gluten-free, as some brands may include gluten-containing additives or be processed in facilities that handle gluten. Always verify the specific ingredients used to ensure no cross-contamination.
Substitutes
- Corn Syrup Alternative: If you prefer not to use corn syrup, you can substitute it with honey or golden syrup. However, this may slightly alter the flavor and texture of the candy.
- Chocolate Substitute: If you don’t have chocolate on hand, you can enjoy the sponge candy plain, or use a drizzle of caramel for a different flavor profile.
Nutrition
For a typical serving of sponge candy (without chocolate), here’s the approximate nutritional breakdown:
- Calories: 100-120 per piece
- Sugar: 22g
- Fat: 0g (before chocolate)
- Carbohydrates: 25g
- Protein: 0g
When adding chocolate, the calorie and fat content will increase depending on the type of chocolate used.
Sponge candy is a nostalgic treat that’s both simple and fun to make. Whether you’re craving a classic Buffalo sponge candy experience or experimenting with chocolate-dipped versions, this recipe is sure to satisfy. Now that you know how to make sponge candy, you can impress friends and family with this delicious homemade confection.