Table of Contents
Vito Iacopelli is a renowned pizza chef, known for his authentic Neapolitan-style pizza dough recipe. If you’ve ever wondered how to replicate his dough at home, you’re in the right place. His dough recipe focuses on high hydration, long fermentation, and quality ingredients to create an airy, flavorful, and perfectly chewy crust. This Recipe will take you through every step, ingredient, and tip you need to master the Vito Iacopelli Pizza Dough Recipe. By the end of this guide, you’ll have all the knowledge to create an authentic pizza dough that rivals the best in Italy!
How to Make Vito Iacopelli Pizza Dough
1. Ingredients for Vito Iacopelli Pizza Dough
The ingredients for Vito Iacopelli’s pizza dough are simple, but the magic lies in the process and the quality of each component. Here’s what you’ll need:
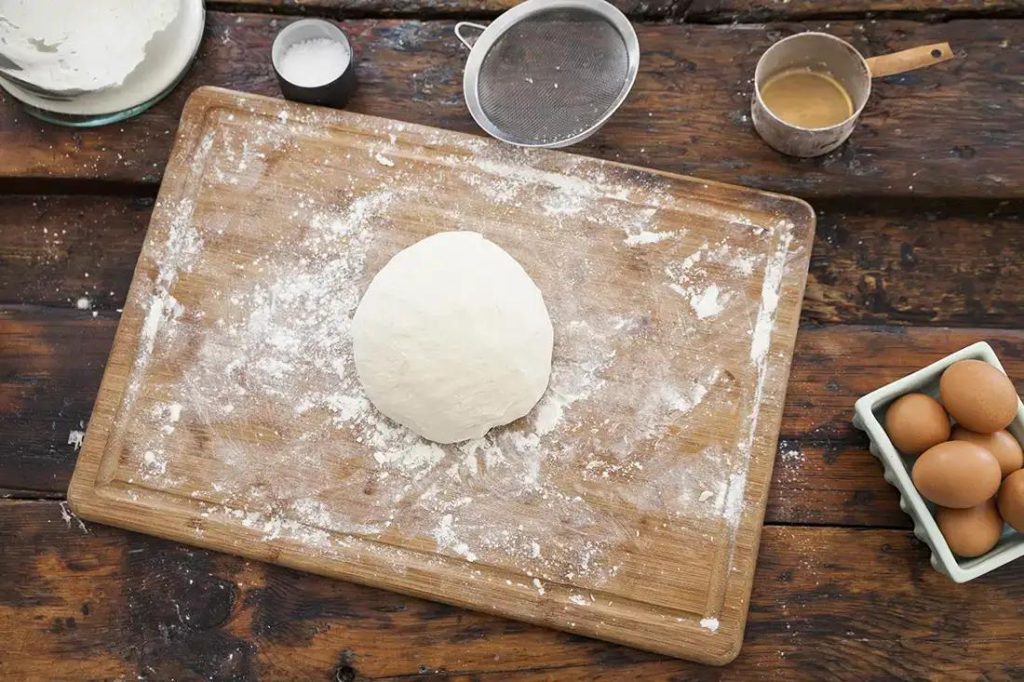
- 1 kg (2.2 lbs) Caputo 00 Flour: This finely milled Italian flour is crucial for achieving the light, airy texture that Vito’s dough is famous for.
- 650 ml (22 oz) Water: Use room temperature water. The hydration level is high in this recipe, making the dough soft and pliable.
- 30 g (1 oz) Salt: Helps control the fermentation process and strengthens the dough.
- 3 g (0.1 oz) Fresh Yeast or 1 g Dry Yeast: The yeast is what makes the dough rise, providing a slight fermentation flavor.
- Extra Virgin Olive Oil: While this isn’t mixed directly into the dough, a small drizzle can be used when shaping or preparing the dough for its final rise.
2. Vito Iacopelli Pizza Dough Cooking Instructions
Step 1: Mixing the Ingredients
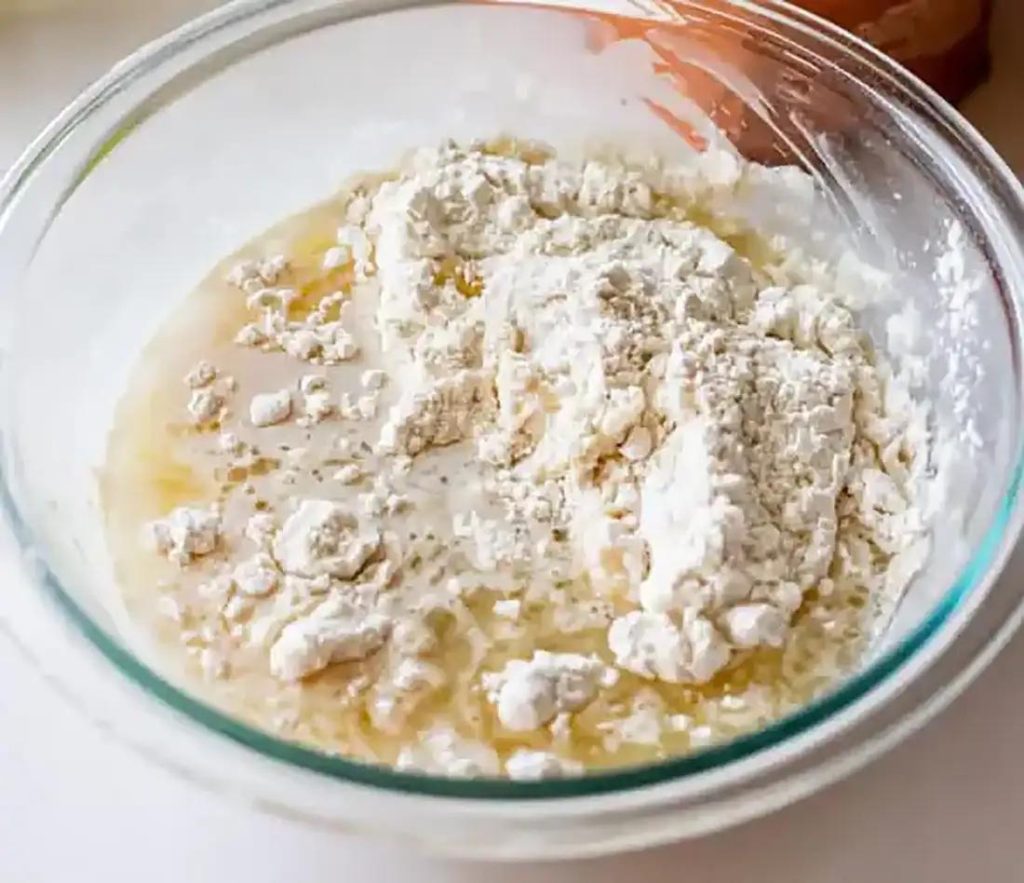
Start by adding the Caputo 00 flour into a large mixing bowl. Slowly pour in about 80% of the water while mixing with your hands or a stand mixer on low speed. The goal is to allow the flour to absorb most of the water before adding the rest.
Step 2: Adding Yeast
Dissolve the yeast into the remaining water. Ensure it’s fully dissolved before adding it to the dough mixture. Once added, continue kneading to incorporate the yeast into the dough.
Step 3: Incorporating Salt
Now, add the salt. It’s essential to add the salt after the yeast has been fully absorbed to prevent the salt from hindering the yeast’s activity. Knead the dough until it’s smooth and slightly sticky, a signature texture of Vito’s pizza dough.
Step 4: First Rise
Transfer the dough to a lightly floured surface and knead it into a ball. Place it in a large bowl and cover it with a damp cloth. Allow the dough to rise at room temperature for 8 to 12 hours, depending on your room’s temperature. The longer the dough ferments, the more flavorful it will be.
Step 5: Shaping the Dough
After the dough has risen, divide it into smaller dough balls (about 250g each for a standard pizza). Gently stretch the dough by hand into your desired pizza shape. Avoid using a rolling pin as it can deflate the dough’s air bubbles, which are key to the light, airy crust.
Step 6: Second Rise
Let the shaped dough rise for an additional 30-60 minutes before topping and baking. This final rise ensures a soft, chewy crust.
Step 7: Baking the Pizza
Preheat your oven to the highest possible setting (around 500°F/260°C). If you have a pizza stone, place it in the oven while preheating. Cook your pizza for 7-10 minutes until the crust is golden and the toppings are perfectly cooked.
3. Tips for Perfect Vito Iacopelli Pizza Dough
- Hydration is Key: The high water content (65%) in Vito’s dough is crucial for achieving the perfect crust. Don’t be afraid if the dough feels slightly sticky—this is normal.
- Slow Fermentation: Allowing the dough to ferment slowly over several hours will yield a dough with more flavor and better texture. If you’re in a hurry, you can let it rise for 4 hours, but the flavor won’t be as rich.
- Use Quality Ingredients: The quality of your flour and yeast matters. Caputo 00 flour is highly recommended for authentic results. For yeast, fresh yeast is preferred, but dry yeast can be used as a substitute.
- Room Temperature Water: Using water that’s neither too cold nor too hot is important for proper yeast activation. Room temperature water helps ensure the dough ferments evenly.
4. What to Serve with Vito Iacopelli Pizza Dough
Now that you’ve mastered how to make Vito’s pizza dough, it’s time to think about what to serve alongside your freshly baked pizza. Here are some ideas for appetizers, desserts, and drinks that complement the pizza experience.
Appetizers:
- Bruschetta: A simple yet flavorful option made with fresh tomatoes, basil, and olive oil on toasted bread.
- Caprese Salad: A mix of fresh mozzarella, tomatoes, and basil drizzled with balsamic glaze.
Desserts:
- Tiramisu: This creamy, coffee-flavored Italian dessert pairs beautifully with pizza.
- Cannoli: A crispy pastry filled with sweet ricotta cheese—perfect to end your pizza night.
Drinks:
- Italian Wine: A chilled white wine like Pinot Grigio or a bold red like Chianti works great.
- Limoncello: A zesty Italian liqueur that is refreshing and light after a hearty pizza meal.
Recipe Tested & Notes
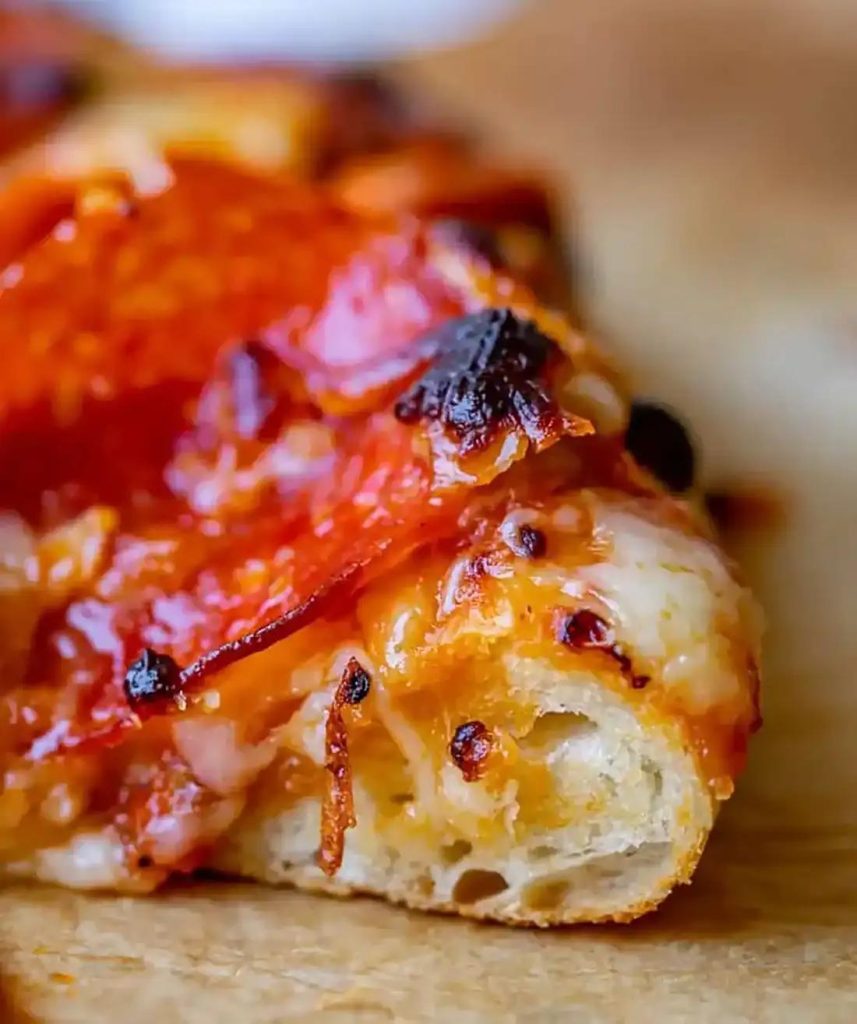
I tested this Vito Iacopelli Pizza Dough Recipe several times while focusing on the qualities that make this style of pizza dough so appealing: a soft, airy crust, a beautifully blistered edge, good stretch, and enough structure to support toppings without becoming heavy.
The biggest lesson from testing was that time is just as important as the ingredients. A pizza dough made with good flour can still turn out dense if the fermentation is rushed. Giving the dough enough time to ferment helped create a lighter and more flavorful crust.
I also found that hydration matters. A wetter dough can produce a lighter, more open crumb, but it can feel sticky when you first start working with it. Instead of adding lots of extra flour, I found it much better to use lightly wet or oiled hands and allow the dough to develop strength through resting and gentle handling.
Another important point is not to flatten the dough aggressively. When stretching the dough, the goal is to push the air toward the outer edge rather than pressing all the fermentation bubbles out. This is what helps create the characteristic puffy pizza cornicione.
The oven temperature also made a major difference. This style of pizza benefits from very high heat and a thoroughly preheated pizza stone or steel. A home oven cannot always reach the temperatures of a professional pizza oven, but maximizing your oven temperature and preheating the baking surface for a long time produced noticeably better results.
I also preferred using a minimal amount of flour during shaping. Too much bench flour can make the dough dry on the outside and can leave burnt flour on the bottom of the pizza.
For the best result, I recommend preparing the dough ahead of time rather than trying to make and bake it immediately. The longer fermentation gives the dough better flavor, texture, and extensibility.
Mistakes I Made
Adding too much flour
The dough can feel sticky at first, which makes it tempting to keep adding flour. Doing this produced a firmer and heavier crust.
Rushing fermentation
Short fermentation produced dough that was less flavorful and harder to stretch.
Overworking the dough
Excessive kneading made the dough unnecessarily tight. Resting the dough allowed gluten development without constant handling.
Stretching the dough too aggressively
Pressing or rolling the entire dough ball flattened the air bubbles that had developed during fermentation.
Using a cold baking surface
Even a good dough struggled to develop a crisp bottom when the pizza stone or steel was not fully preheated.
Not preheating long enough
Turning the oven on and immediately baking the pizza resulted in a pale and less blistered crust.
Using too much topping
A heavy layer of sauce, cheese, and toppings made the center wet and prevented the pizza from cooking quickly.
Using too much bench flour
Excess flour can burn at high temperatures and can give the bottom of the pizza a bitter taste.
Handling the dough too much after fermentation
Once the dough had developed good fermentation bubbles, excessive handling reduced the airy structure I wanted.
Launching the pizza too slowly
The longer the shaped pizza sits on the peel, the more likely it is to stick. Having all toppings and equipment ready before shaping made launching much easier.
Personal Cooking Tips Learned From Testing
These are the techniques that made the biggest difference during testing:
- Use good-quality pizza flour when available.
- Weigh the flour and water with a kitchen scale for consistent results.
- Avoid adding flour simply because the dough feels sticky.
- Give the dough plenty of time to rest and ferment.
- Keep the dough covered so the surface does not dry out.
- Handle fermented dough gently.
- Use lightly floured or lightly oiled hands when shaping.
- Avoid rolling the dough with a rolling pin if you want a puffy crust.
- Press the center gently while protecting the outer edge.
- Leave a thicker rim around the pizza.
- Stretch the dough gradually rather than forcing it.
A Baker’s Tip
If the dough feels difficult to stretch, do not immediately add more flour. Give it another short rest. Gluten often relaxes during resting, making the dough much easier to stretch.
Storage Notes Based on Actual Testing
Pizza dough is excellent for making ahead because fermentation can continue in the refrigerator.
Refrigerator Storage
After preparing the dough and dividing it into individual dough balls, place them in lightly oiled airtight containers or a covered dough tray.
Refrigerate the dough until you are ready to use it.
Cold fermentation can improve both flavor and texture.
Before baking, remove the dough from the refrigerator and allow it to come toward room temperature according to your fermentation schedule.
Dough Ball Storage
Keep individual dough balls separated so they do not merge together.
A covered container prevents the surface from drying and forming a tough skin.
If the dough becomes very dry on top, shaping it can become more difficult.
Freezing Pizza Dough
Pizza dough can be frozen.
After portioning and shaping the dough balls, place them in freezer-safe airtight containers or bags.
Freeze them individually so they are easy to remove later.
Thawing Frozen Dough
Transfer frozen dough to the refrigerator and allow it to thaw gradually.
After thawing, allow it to come toward room temperature before shaping.
Do not try to stretch the dough while it is still very cold because it will usually feel tight and resistant.
How Long Can Pizza Dough Be Refrigerated?
The exact window depends on the yeast, flour, hydration, and fermentation schedule. For the best flavor and structure, use the dough within the intended fermentation period rather than storing it indefinitely.
Storage Tip
Do not leave uncovered dough balls in the refrigerator. Even a small amount of air exposure can create a dry outer skin that makes stretching difficult.
Equipment Used
These are the tools I found most useful for making this pizza dough:
- Digital kitchen scale
- Large mixing bowl
- Dough scraper
- Bench scraper
- Airtight dough container
- Pizza peel
- Pizza stone or pizza steel
- High-temperature oven
- Infrared thermometer, optional
- Small bowl for flour or semolina
- Plastic dough scraper
- Measuring spoons
- Timer
- Cooling rack, optional
- Large cutting board or pizza serving board
- Pizza cutter
5. Frequently Asked Questions (FAQs)
Can I freeze the pizza dough?
Yes! You can freeze Vito Iacopelli pizza dough after the first rise. Wrap each dough ball in plastic wrap and place it in an airtight container. When you’re ready to use it, thaw the dough in the fridge for 12-24 hours, then allow it to come to room temperature before shaping.
How long can I store the dough in the fridge?
You can store the dough in the fridge for up to 3 days. The longer it ferments, the more complex the flavor will be. Just be sure to let it come to room temperature before using it.
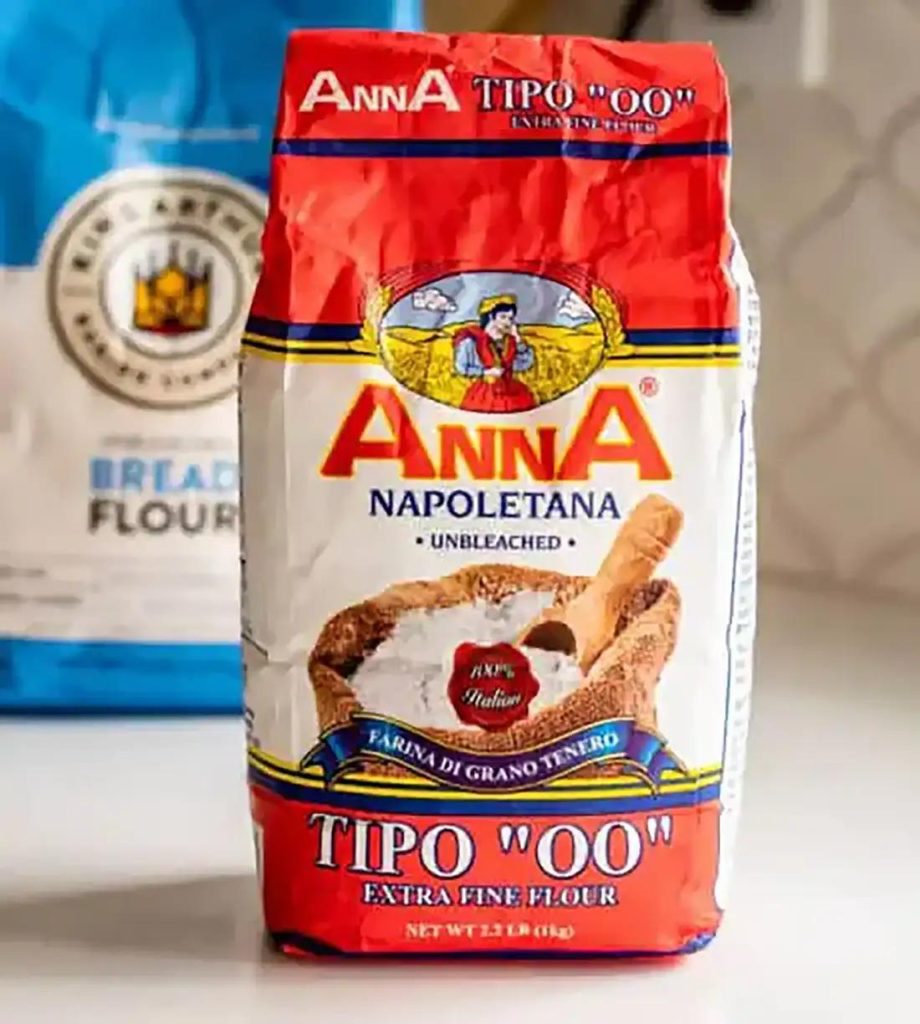
Can I use all-purpose flour instead of Caputo 00 flour?
You can, but the texture won’t be quite the same. Caputo 00 flour has a lower protein content, which results in a lighter, airier crust. All-purpose flour will still work but may result in a denser dough.
6. Substitutes for Vito Iacopelli Pizza Dough
If you’re unable to find Caputo 00 flour or prefer a different approach, there are alternatives you can try.
- All-Purpose Flour: As mentioned earlier, this can be used in place of Caputo 00 flour, but the texture will be slightly different.
- Whole Wheat Flour: For a healthier option, substitute half of the 00 flour with whole wheat flour. This will result in a heartier crust.
- Gluten-Free Flour: If you’re gluten intolerant, you can use a gluten-free pizza dough mix. Just be sure to adjust the water and yeast quantities as necessary.
7. Nutrition Information
Here’s the approximate nutritional breakdown for one serving of Vito Iacopelli pizza dough (based on one standard pizza):
- Calories: 180
- Carbohydrates: 35g
- Protein: 5g
- Fat: 1g
- Fiber: 2g
- Sodium: 150mg
- Sugar: 1g
By following this detailed guide on how to make Vito Iacopelli pizza dough, you’ll be able to create an authentic, delicious pizza at home. The combination of high-quality ingredients and a slow fermentation process is what makes this recipe stand out. Whether you’re serving it up with classic Italian sides or pairing it with your favorite drinks, this dough will bring a taste of Italy straight to your kitchen