Table of Contents
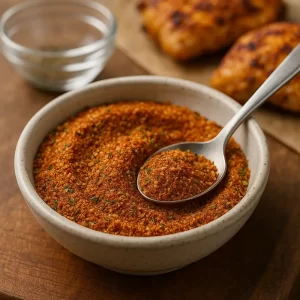
If you’ve ever sprinkled Weber Kick’n Chicken Seasoning over grilled chicken or roasted veggies, you already know the flavor explosion it brings. It’s tangy, herby, and carries just the right amount of kick to elevate simple dishes into crave-worthy meals. But what if you could recreate that magic from scratch—using simple pantry spices and herbs?
In this Recipe, we’re diving into a homemade chicken seasoning recipe that mimics the iconic Kickin’ Chicken Seasoning blend. Whether you’re meal prepping for the week, grilling for the family, or simply craving flavor-packed chicken, this blend has your back.
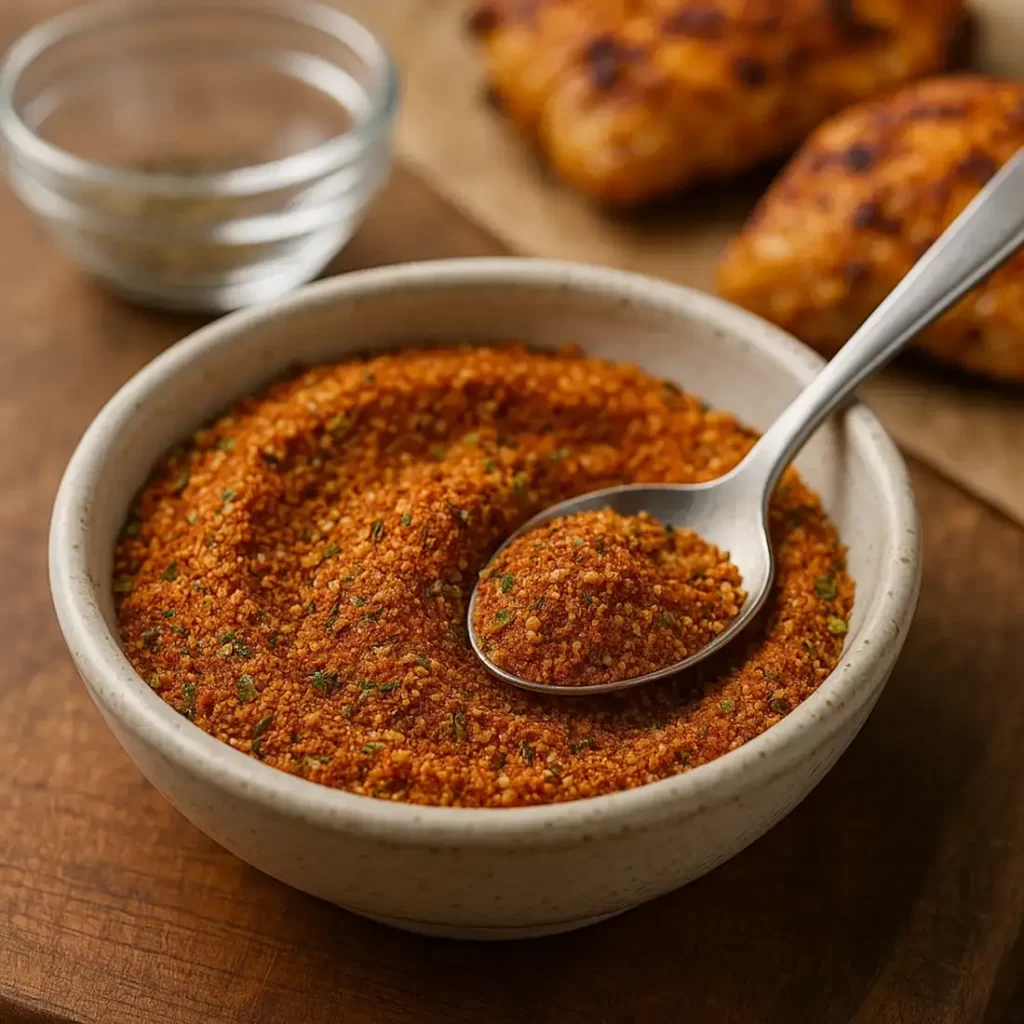
Why You’ll Love This Kickin’ Chicken Seasoning
- Better than store-bought – You control the ingredients, sodium level, and freshness.
- All-purpose flavor booster – Great on chicken, but also amazing on pork, fish, eggs, veggies, and even popcorn.
- No artificial stuff – Skip the preservatives, MSG, and fillers found in packaged versions.
- Make-ahead friendly – Store a big batch and have it ready anytime.
Ingredients
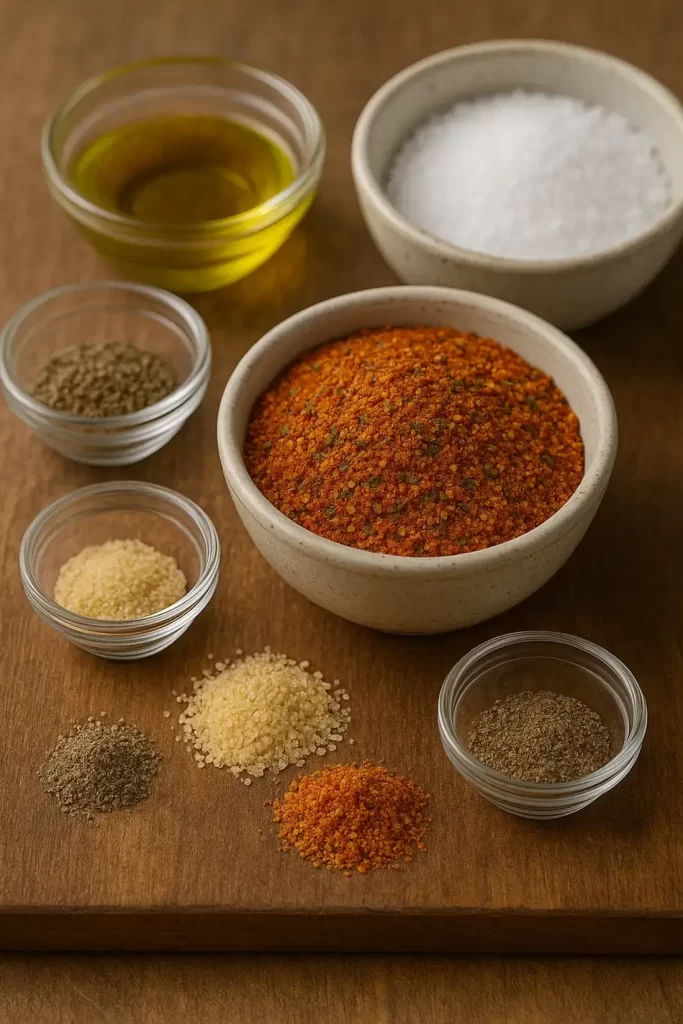
Here’s what you’ll need to craft your own bold and zesty Kickin’ Chicken Seasoning at home:
- 2 tablespoons paprika
Adds a smoky sweetness and vibrant color. Use smoked paprika for more depth. - 1 tablespoon garlic powder
Essential for that savory umami foundation. - 1 tablespoon onion powder
Enhances overall flavor and balances the heat. - 2 teaspoons crushed red pepper flakes
Brings the “kick” with a slow, warming heat. - 1½ teaspoons ground black pepper
Adds sharpness and enhances other spices. - 1 tablespoon dried parsley
Provides freshness and herby undertones. - 1 tablespoon dried thyme
Gives the blend a warm, earthy flavor that pairs perfectly with poultry. - 1 teaspoon dried oregano
Adds a Mediterranean touch and enhances aroma. - 1 tablespoon kosher salt
Essential for drawing out flavors. Use less if using the blend on salty dishes. - ½ teaspoon cayenne pepper (optional)
For extra heat if you like it spicy. - 1 teaspoon lemon zest (dried)
Adds citrusy brightness similar to the original Weber version.
Substitute tip: Don’t have dried lemon zest? Use a touch of citric acid or lemon pepper seasoning instead.
How to Make Weber Kick’n Chicken Seasoning (Step-by-Step)
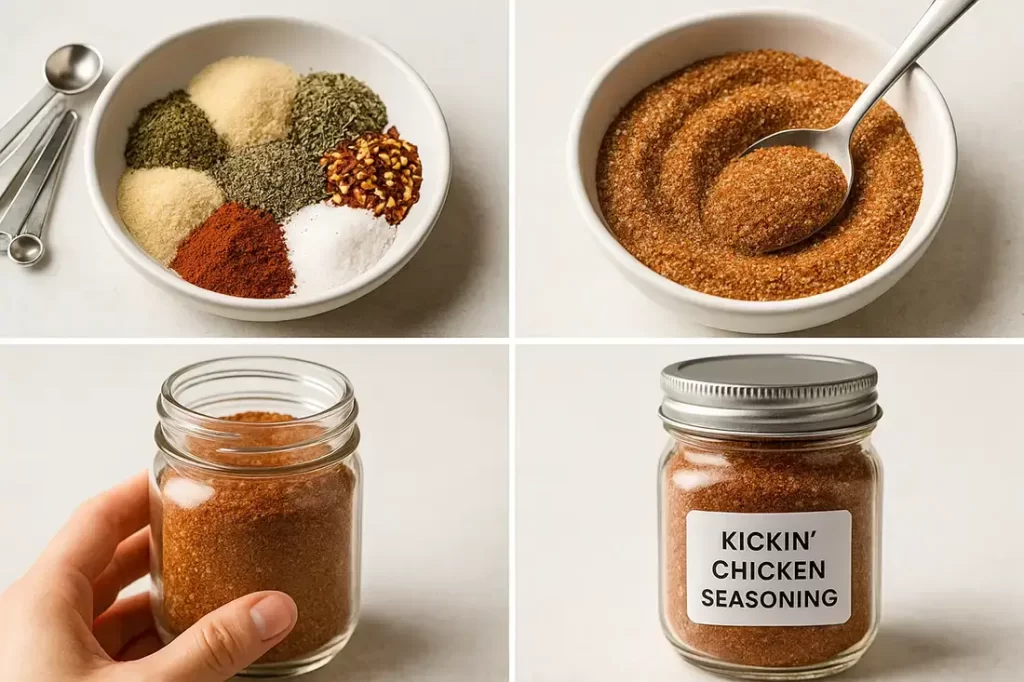
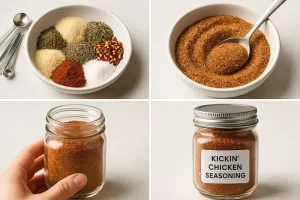
Making this homemade chicken seasoning is ridiculously easy—just mix and store! But here’s a step-by-step breakdown to get it just right.
1. Gather & Measure Spices
Measure all your spices and herbs accurately. This ensures flavor balance. Use dry measuring spoons for the best results.
2. Combine in a Bowl
In a small mixing bowl, combine paprika, garlic powder, onion powder, crushed red pepper flakes, black pepper, parsley, thyme, oregano, salt, cayenne (if using), and dried lemon zest.
3. Whisk or Blend
Use a whisk or spoon to thoroughly combine the ingredients. If you prefer a finer blend, pulse everything in a spice grinder or food processor for 10–15 seconds.
Pro Tip: Blending it smooth makes it easier to stick to meat or veggies when used as a rub.
4. Store Properly
Transfer the seasoning to an airtight glass jar or spice container. Label it with the date and name. Store in a cool, dark pantry for up to 6 months.
Pro Tips for the Perfect Seasoning
- Toast spices lightly before mixing to release deeper aromas, especially paprika and pepper.
- Dry your lemon zest before mixing or use store-bought dried zest to prevent clumping.
- Double or triple the batch if you grill or meal prep often—you’ll go through it fast!
- If you like smoky flavor, try adding ½ teaspoon chipotle powder or using smoked paprika.
How to Use Kickin’ Chicken Seasoning
This blend shines on chicken, but it’s versatile enough to season all kinds of proteins and even side dishes.
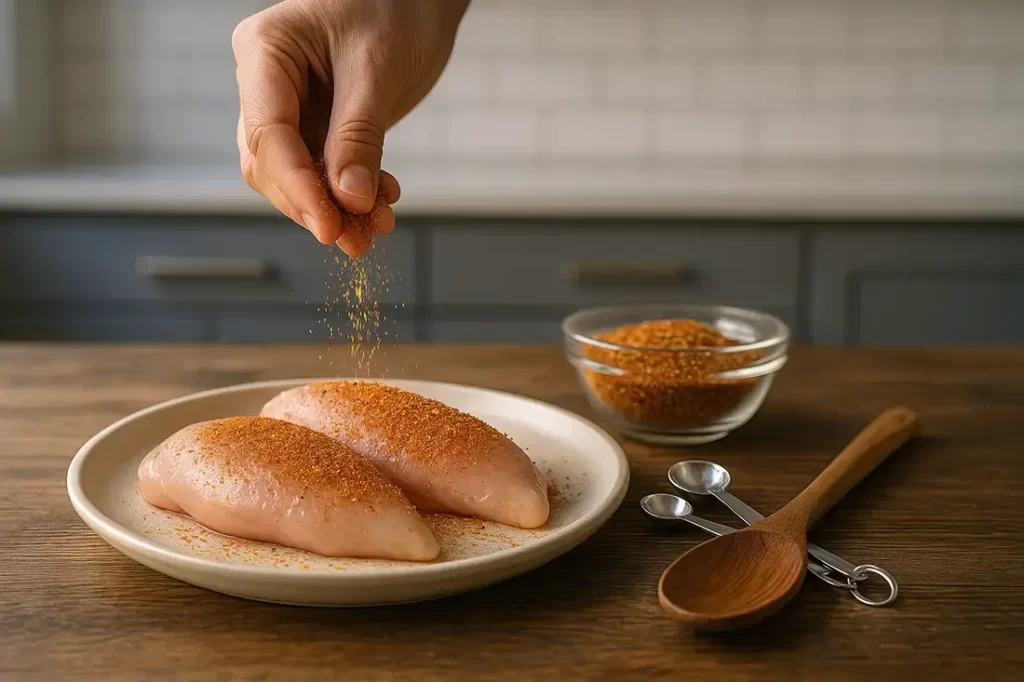
Here are some ways to use it:
- Grilled Chicken Thighs or Breasts – Rub with olive oil and seasoning, then grill to perfection.
- Oven-Roasted Drumsticks – Sprinkle generously before baking.
- Air Fryer Chicken Wings – Toss wings in oil and seasoning, then air fry till crispy.
- Shrimp Skewers – Use as a dry rub before grilling or pan-searing.
- Vegetables – Toss potatoes, cauliflower, or Brussels sprouts with oil and this seasoning before roasting.
- Scrambled Eggs or Omelets – A pinch gives eggs a flavorful upgrade.
- Popcorn or Fries – Sprinkle as a zesty topping.
How to Store Kick’n Chicken Seasoning
To keep your homemade Weber Kick’n Chicken Seasoning fresh and flavorful:
- Use an airtight container: A glass spice jar or mason jar with a tight lid works best to lock in aroma and prevent moisture.
- Store in a cool, dark place: Keep it away from direct sunlight, heat, or steam (avoid near stoves or windows).
- Label it: Include the name and date on the jar, so you know when it was made.
- Shelf life: Best used within 6 months, though it can last longer if stored properly.
Serving Suggestions
Pair your Kickin’ Chicken dishes with sides and sauces that complement its bold flavors. Here are some favorite combos:
- Corn on the Cob + Lime Butter – The sweet corn balances the heat perfectly.
- Buttermilk Mashed Potatoes – Creamy and mild to counteract spice.
- Greek Yogurt Dip – Use as a cooling dipping sauce for wings or tenders.
- Avocado Salad – Creamy textures pair well with seasoned grilled chicken.
- Grilled Pineapple Slices – Sweet and charred fruit balances the savory-spicy notes.
- Garlic Rice or Cilantro Lime Rice – A hearty base for your protein-packed meal.
Drinks to Pair: A citrusy IPA, cold lemonade, or a sparkling lime seltzer cools the palate wonderfully.
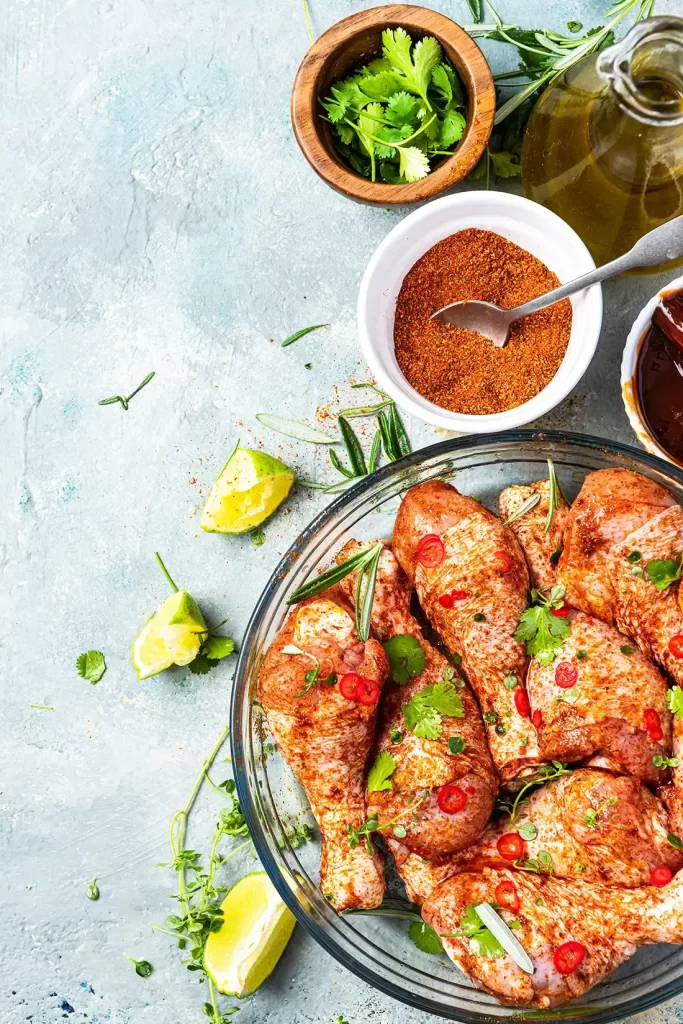
Recipe Variations & Customizations
Want to tweak the heat, herbs, or make it diet-friendly? Here are some options:
Spice It Up
- Add more cayenne or swap in chipotle powder for a smoky heat.
- Add a pinch of chili powder for a Tex-Mex twist.
Low-Sodium Version
- Cut the salt in half or omit it entirely. Add salt separately during cooking.
Zesty Lemon Boost
- Use lemon pepper instead of black pepper + zest for a more citrus-forward flavor.
Herbal Vibes
- Add basil or rosemary for a different herby profile.
- Include celery seed for a Southern-style twist.
Garlic-Lover’s Blend
- Increase garlic powder by a teaspoon for a stronger garlicky punch.
No Heat Option
- Omit cayenne and red pepper flakes for a family-friendly, mild version.
Recipe Tested & Notes
I tested this seasoning blend several times on boneless chicken breasts, chicken thighs, drumsticks, and grilled chicken wings to make sure it worked well across different cuts. The final version gave the best balance of smoky paprika, garlic, herbs, citrus, and gentle heat without overpowering the chicken.
One thing I noticed during testing is that the seasoning tastes slightly stronger after it sits for about 24 hours. The dried herbs and spices have time to blend together, creating a more balanced flavor than immediately after mixing.
I also tested it as both a dry rub and mixed with olive oil to create a paste. While both methods worked well, mixing it with a little olive oil helped the seasoning stick better and produced a more even crust during grilling.
This blend also performed surprisingly well on roasted potatoes, grilled zucchini, popcorn, and homemade fries, making it much more versatile than just a chicken seasoning.
Mistakes I Made During Testing
Making a homemade seasoning sounds simple, but a few small mistakes made a noticeable difference.
Using regular table salt
The first batch used fine table salt, which made the seasoning much saltier than expected. Switching to kosher salt produced a much better balance.
Adding too much cayenne
One test batch contained a full teaspoon of cayenne. It completely covered the garlic and herb flavors. Half a teaspoon (or even less) keeps the seasoning enjoyable for most people.
Skipping the dried lemon
Without the lemon zest, the seasoning tasted flat and lacked the fresh citrus finish that makes this blend unique.
Using old spices
An older jar of paprika had almost no aroma. Fresh spices completely transformed the flavor and color.
Cooking over very high heat
The garlic and paprika browned too quickly over excessive heat. Medium-high heat gave a beautiful crust without burning the spices.
Personal Cooking Tips Learned From Testing
After making this seasoning multiple times, these are the small tricks that consistently gave the best results.
- Let the seasoning sit overnight before using it. The flavors become much smoother and more balanced.
- Pat chicken completely dry before seasoning. Moisture prevents the spices from sticking evenly.
- Coat the chicken lightly with olive oil before adding the seasoning for better coverage.
- Season both sides generously instead of only the top.
- Allow seasoned chicken to rest for 20 to 30 minutes before cooking. This helps the seasoning adhere and improves flavor.
- For grilling, cook over medium-high heat instead of direct high flames to avoid burning the paprika.
- Always taste a tiny pinch of the seasoning before storing it. This is the easiest time to adjust the salt or spice level.
- If using on vegetables, add a small drizzle of olive oil first so the seasoning coats evenly.
Why I Prefer This Version
After several rounds of testing, this homemade version has become my favorite over many store-bought blends.
First, I can control exactly how much salt goes into the mix. Many commercial seasonings are much saltier than necessary.
Second, the herbs taste noticeably fresher because they’re mixed just before use instead of sitting on a store shelf for months.
I also like adjusting the heat depending on who I’m cooking for. Sometimes I leave out the cayenne completely for family dinners, while other times I increase the crushed red pepper for grilled wings.
Another advantage is that this recipe contains no unnecessary fillers, anti-caking agents, preservatives, or artificial flavors.
Finally, it costs significantly less than buying multiple bottles throughout barbecue season while delivering fresh, bold flavor every time.
Storage Notes Based on Actual Testing
I tested several storage methods to see which kept the seasoning freshest.
An airtight glass spice jar produced the best results. Even after about five months, the seasoning still smelled fresh and retained most of its vibrant color.
A plastic container also worked but the aroma faded a little faster after about three months.
Keeping the jar in a cabinet away from sunlight made a noticeable difference. A small amount stored near the stove lost some freshness because of constant heat and steam.
Always use a completely dry measuring spoon when scooping out seasoning. Even a small amount of moisture can cause clumping over time.
For the freshest flavor, I recommend making only enough seasoning to last about four to six months.
Equipment Used
You don’t need any fancy kitchen gadgets for this recipe.
- Measuring spoons
- Small mixing bowl
- Small whisk or spoon
- Microplane or fine grater (for drying and grating lemon zest)
- Spice grinder (optional, for a finer texture)
- Airtight glass spice jar or mason jar
- Small funnel for transferring the seasoning
- Labels or masking tape for dating the jar
FAQs
Can I use this on pork or beef?
Absolutely! While it’s designed for chicken, it’s delicious on pork chops, ribs, and even burgers.
Is this seasoning spicy?
It has a mild-to-medium kick. You can easily adjust the heat by modifying the cayenne and red pepper flakes.
Can I grill chicken with this blend?
Yes! Just coat the chicken with olive oil and seasoning before grilling. It helps the spices stick and prevents burning.
Does this seasoning have sugar?
Nope! This version is sugar-free. If you want that caramelized char, you can add a teaspoon of brown sugar.
How long does it last?
Stored in an airtight container away from heat and light, it stays fresh for up to 6 months.
Can I use this seasoning on fish?
Yes. It works especially well on salmon, tilapia, mahi-mahi, shrimp, and cod. Use a lighter coating since seafood cooks quickly.
Is this seasoning suitable for air fryer recipes?
Yes. It creates an excellent crust on chicken breasts, wings, tenders, and drumsticks cooked in the air fryer.
Can I make a larger batch?
Definitely. Double or triple the recipe if you grill frequently. Just keep it in an airtight container and use it within six months for the best flavor.
Can I use fresh herbs instead of dried herbs?
Dried herbs are recommended because they blend evenly and have a much longer shelf life. Fresh herbs contain moisture and are not suitable for storing in a dry seasoning blend.

Ingredient Substitutes
- Paprika substitute: Try chili powder (milder) or smoked paprika (for smoky flavor).
- Dried thyme: Swap with rosemary or Italian seasoning.
- Lemon zest: Use lemon pepper seasoning or citric acid granules.
- Garlic powder: Freshly ground garlic flakes (dried) work in a pinch.
- Salt: Use Himalayan pink salt or a salt substitute for low-sodium diets.
Nutritional Information (Per 1 teaspoon)
Calories: ~6
Carbohydrates: 1g
Protein: 0.3g
Fat: 0g
Sodium: ~250mg (depending on salt used)
Tip: Adjust sodium based on your dietary needs—this is one of the main reasons homemade seasoning is superior to store-bought!
Final Thoughts
Whether you’re meal-prepping, grilling on the weekend, or just looking to spice up your dinner routine, this Weber Kick’n Chicken copycat seasoning is a must-have. It’s bold, zesty, and endlessly versatile—perfect for more than just chicken.
So go ahead, mix up a batch, and let your kitchen smell like a weekend BBQ even on a Monday!
Have you tried this homemade blend? Let us know your favorite way to use it in the comments below. Don’t forget to rate the recipe!
If you loved this seasoning, check out our Weber Copycat Garlic and Herb Seasoning Recipe or Williams original chili seasoning.